

Initial configuration
Before your Ada team can connect the Gladly handoff, you configure your Gladly instance and collect a set of credentials to share with them. Work through the following steps in your Gladly instance, then hand the collected values to your Ada representative.
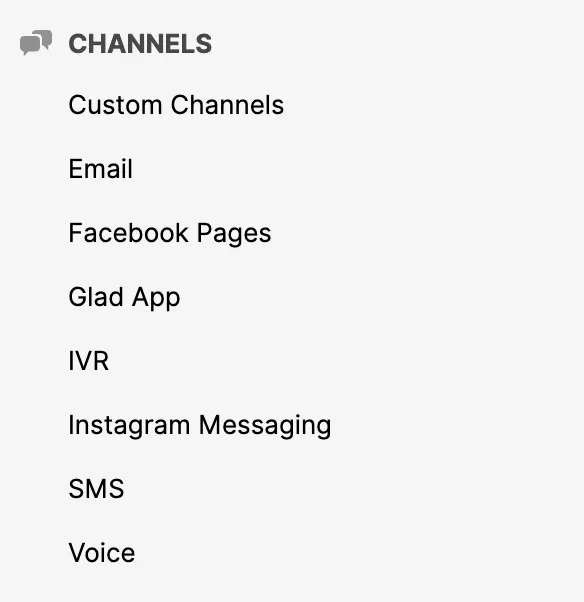
Enable Custom Channels
The handoff routes conversations through a Gladly custom channel, so the Custom Channels feature must be enabled in your instance. Confirm it appears under Channels in Gladly settings before continuing. If it is not available, contact Gladly to have it enabled.
Create an API user
The integration authenticates to Gladly as a dedicated user. Using a dedicated account keeps the integration’s activity separate from human agents.
To create the API user:
- Create a Gladly user reserved for integrations.
- Note the user’s email address. This email is the username the integration authenticates with.
- Sign in as this user to complete the remaining configuration.
Find your org ID and org URL
The integration needs your Gladly Org ID and Org URL to connect to the correct instance.
To find your Org ID and Org URL:
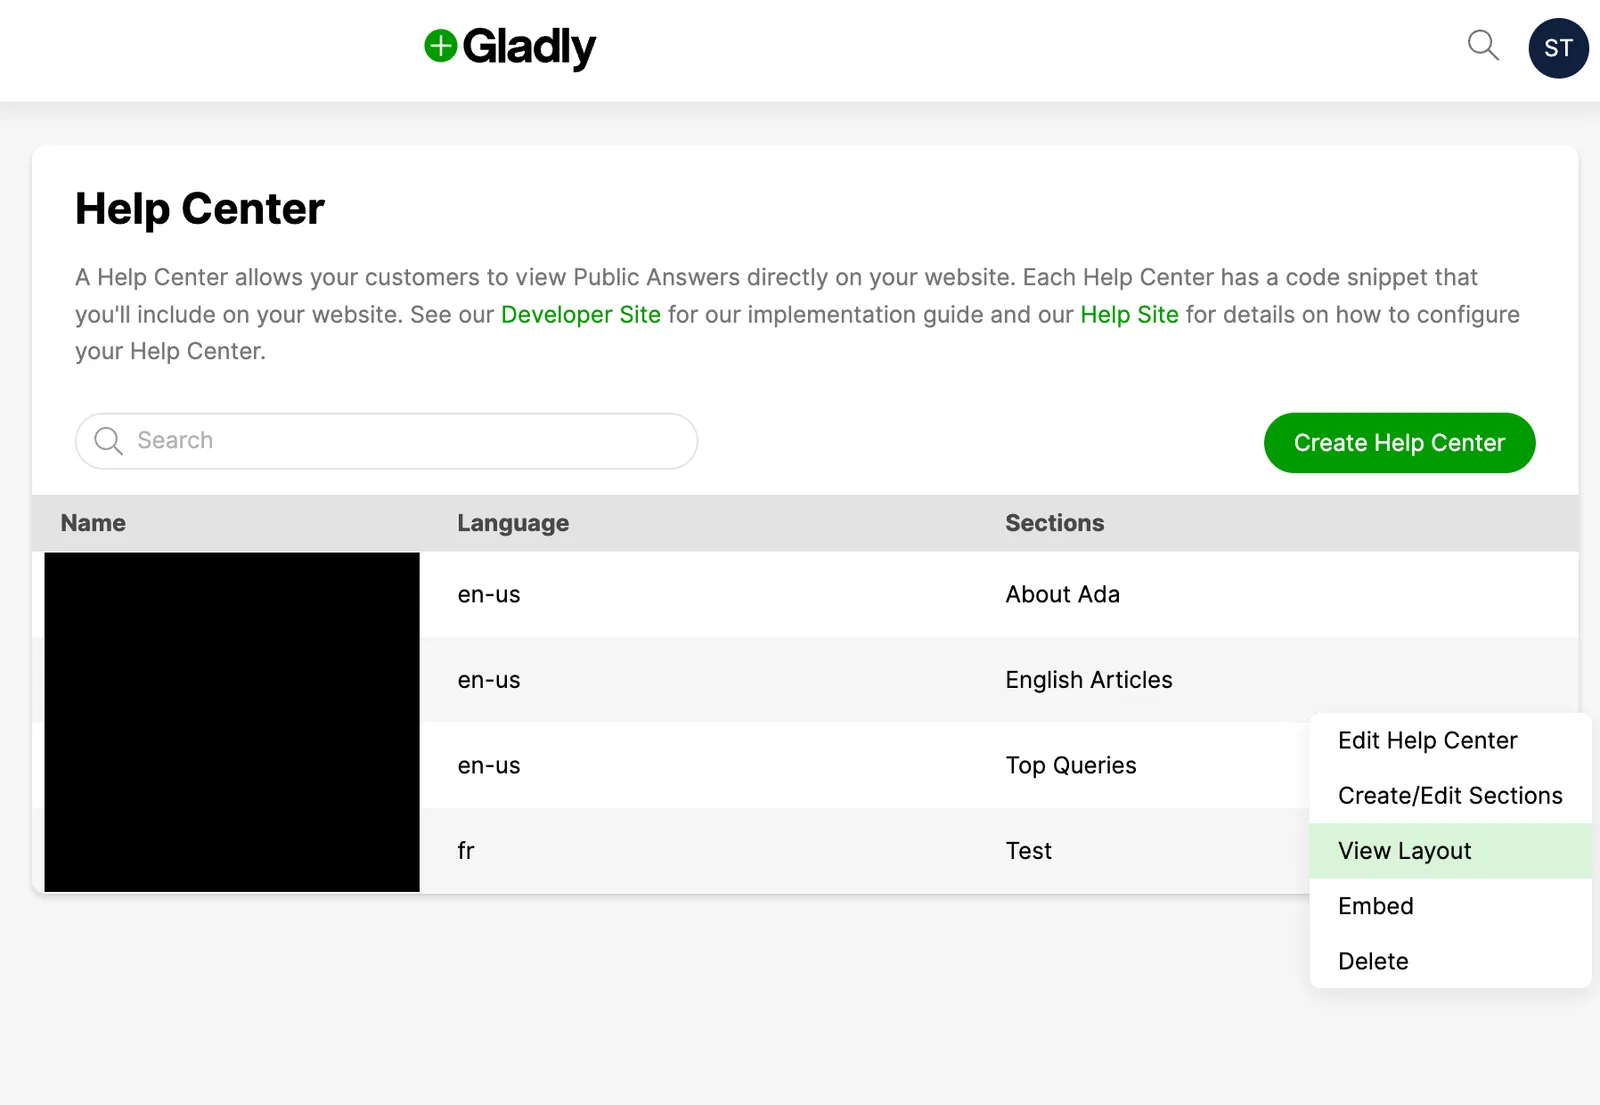
- Go to Settings → Help Center.
- For any Help Center, select View Layout. A new tab opens with a preview URL.
- Copy the
orgIdandapivalues from that URL. TheorgIdvalue is your Org ID, and theapivalue is your Org URL.
Generate an API token
The integration uses an API token to call the Gladly API on behalf of the API user.
To generate an API token:
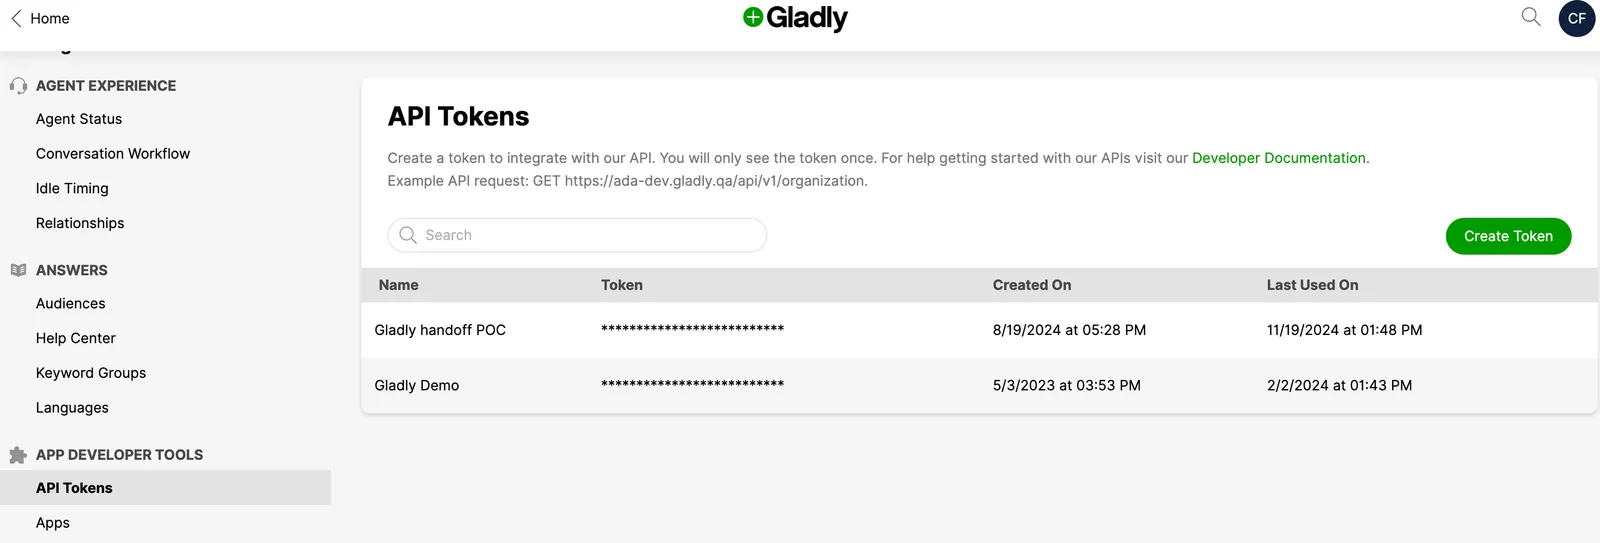
- Go to Settings → App Developer Tools → API tokens.
- Select Create Token. The token is shown only once, so copy it immediately and store it securely.
Configure inboxes
Inboxes determine where handed-off conversations are routed for your agents to pick up. Create one inbox for each routing destination you need.
To configure inboxes:
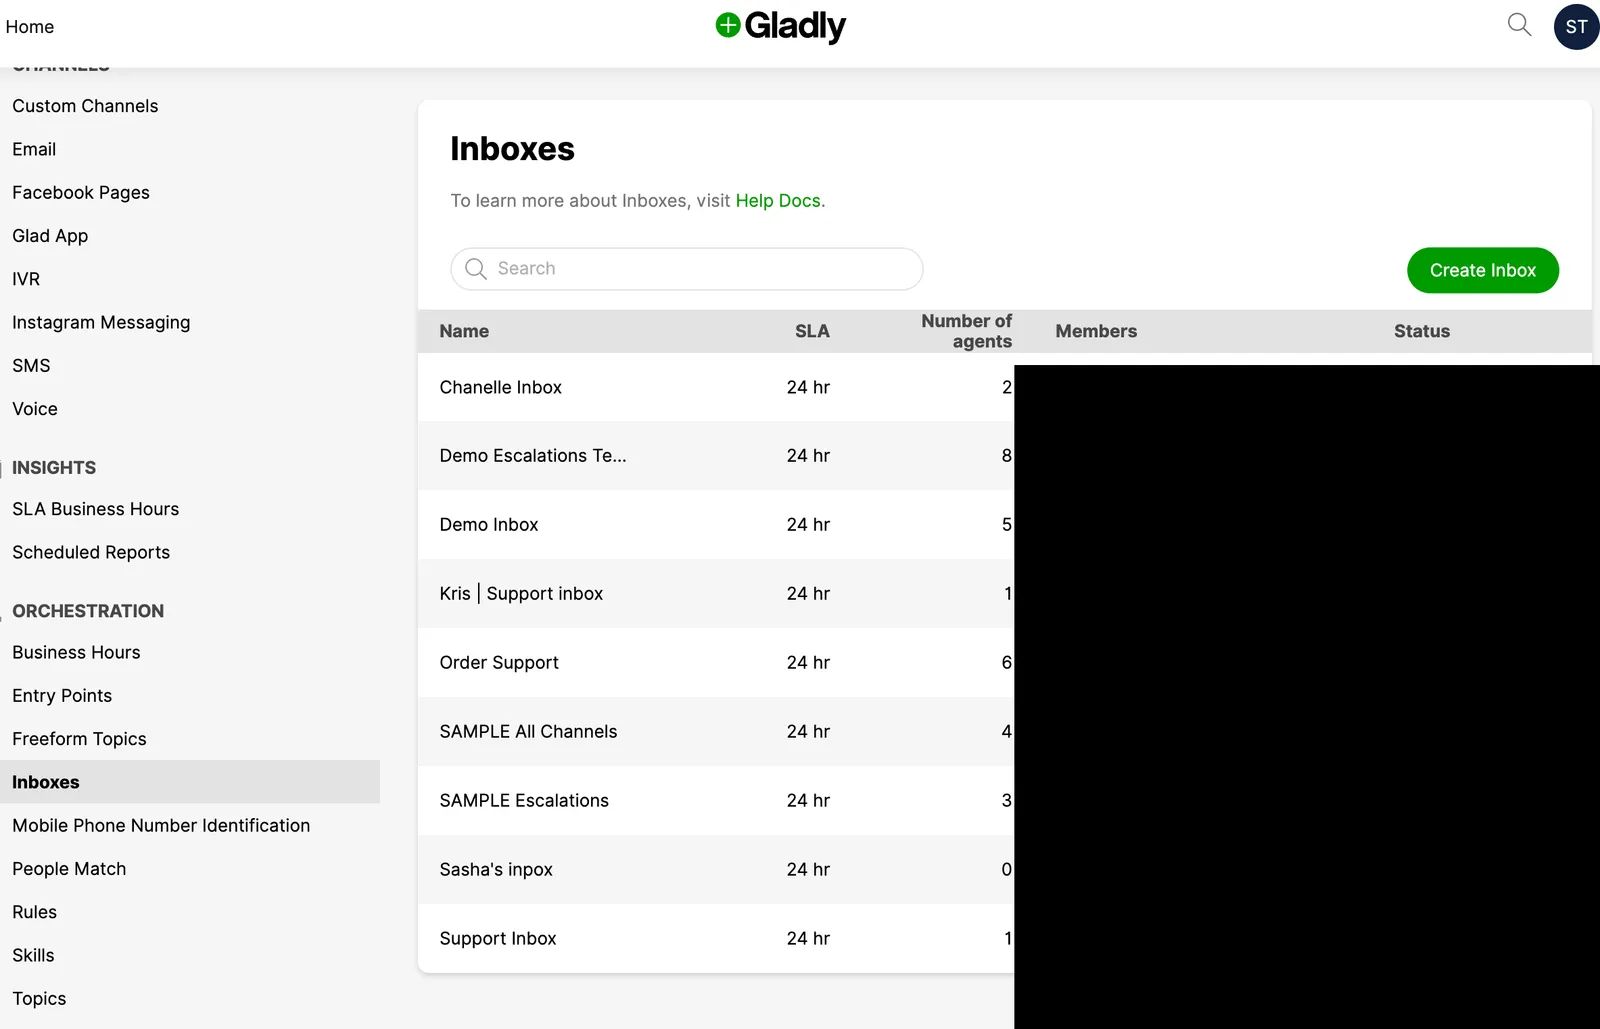
- Go to Settings → Orchestration → Inboxes.
- Select Create Inbox and add the inboxes you want to route conversations to.
Create a custom channel and entry points
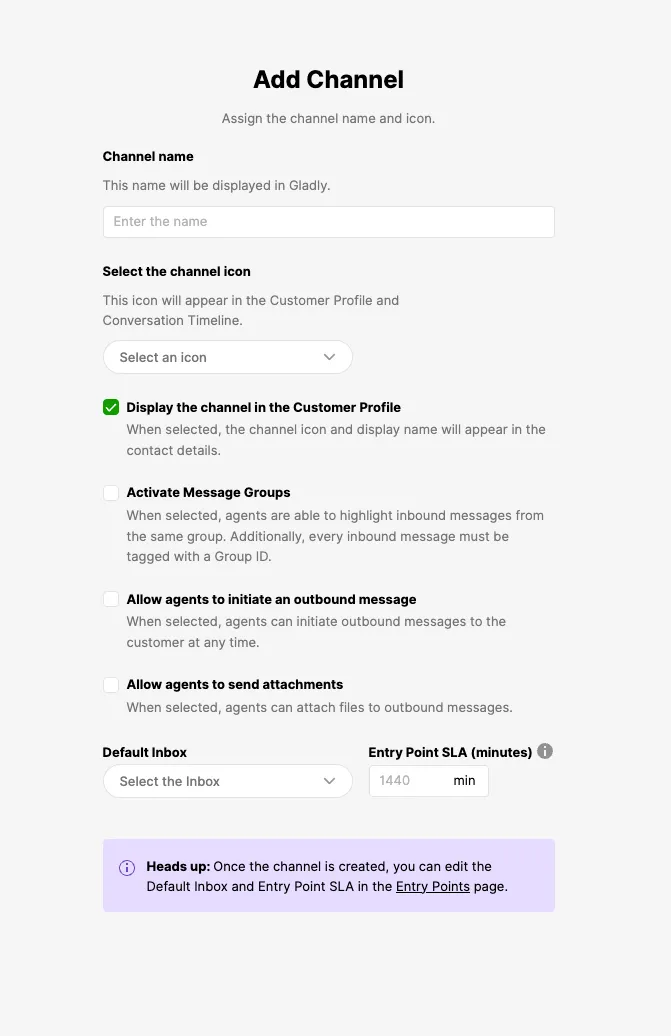
The custom channel is the channel the handoff sends conversations to, and entry points let you route different handoffs to different inboxes.
To create the custom channel and entry points:
- Go to Settings → Channels → Custom Channels.
- Select Add Channel, set a Default Inbox, and enable Message Groups if you need it.
- Open the channel’s details and copy the custom channel ID from the URL.
The ID is the value that follows
/custom-channels/in the URL. - On the Custom Channels page, select Edit Entry Points for the channel you created.
- Add one entry point per inbox you want to route to.
Configure routing to inboxes
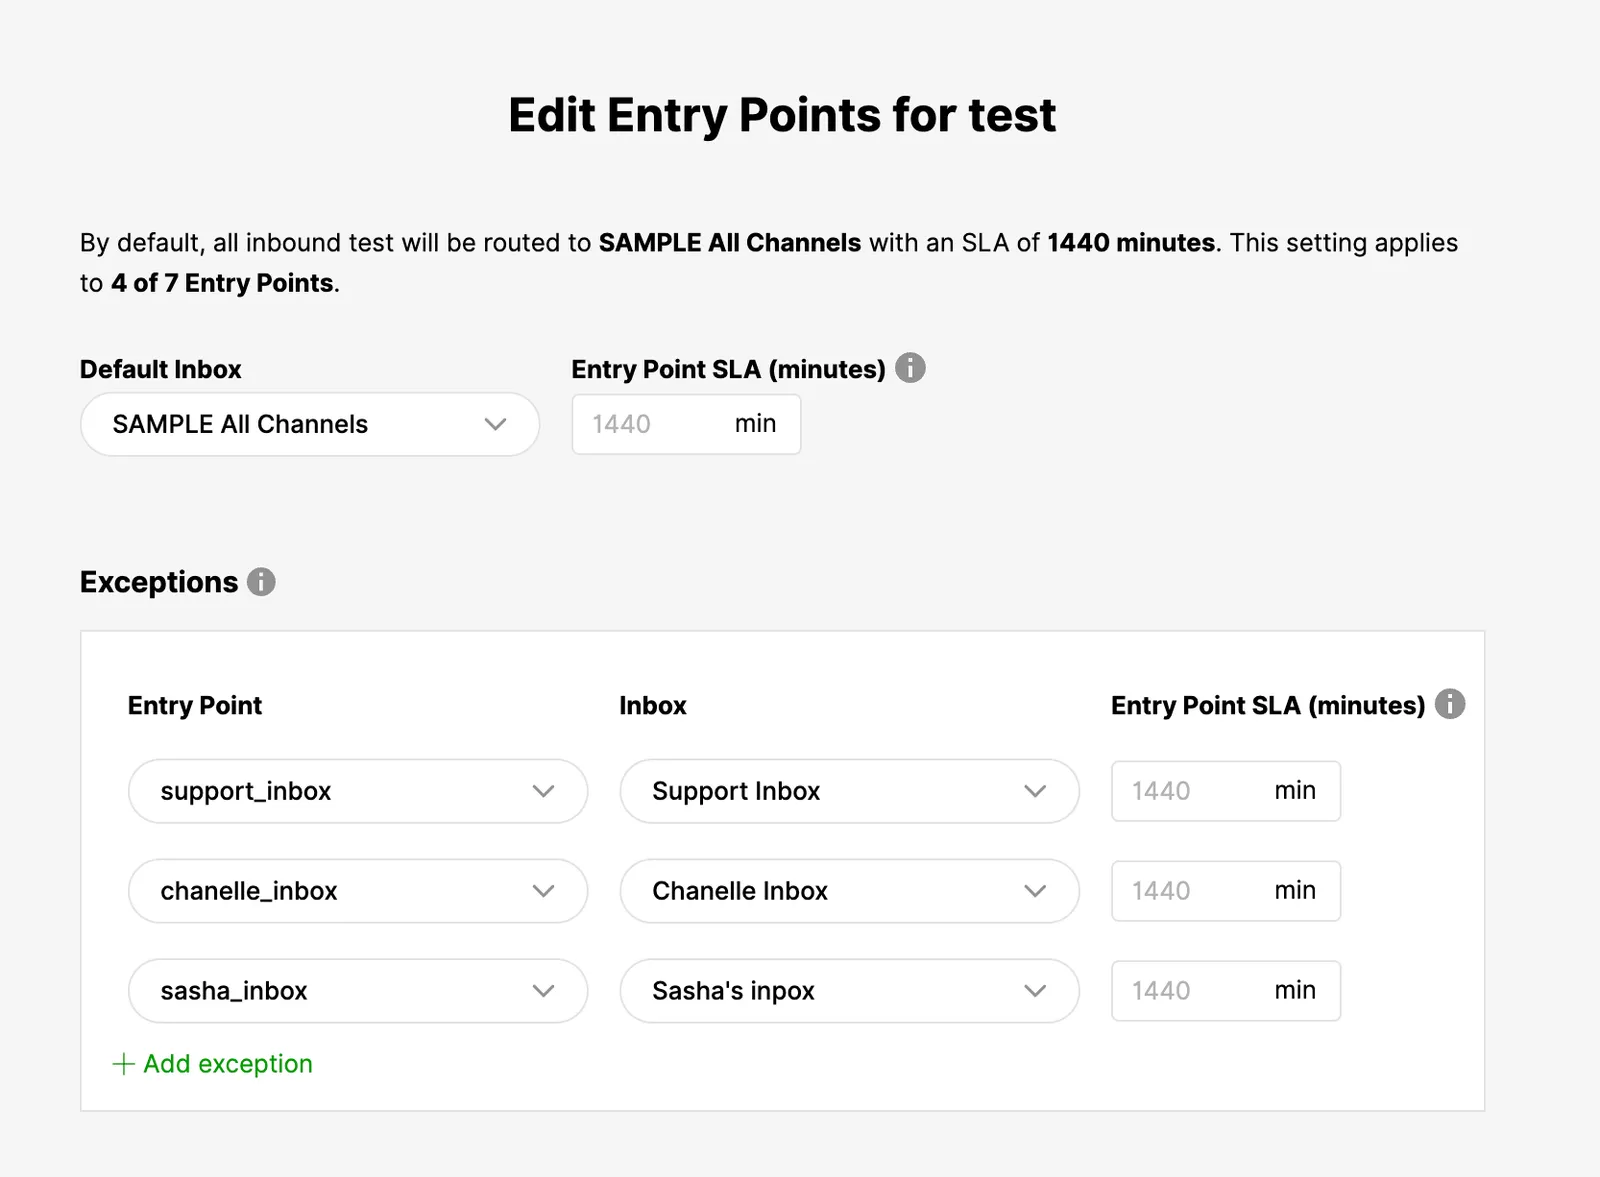
Routing exceptions map each entry point to a specific inbox so that handoffs reach the right agents.
To configure routing:
- Go to Settings → Orchestration → Entry Points.
- Edit the channel you created.
- Under Exceptions, map each entry point to its inbox. Conversations are then routed based on the entry point used in the handoff.
Configure the webhook
The webhook lets Gladly send agent messages and conversation events back to Ada.
To configure the webhook:
- Go to Settings → App Developer Tools → Webhooks.
- Add a new webhook and set the Webhook URL for your region:
- US:
https://solutions.ada.support/messaging-connectors/gladly/webhooks/gladly - EU:
https://solutions.eu.ada.support/messaging-connectors/gladly/webhooks/gladly
- US:
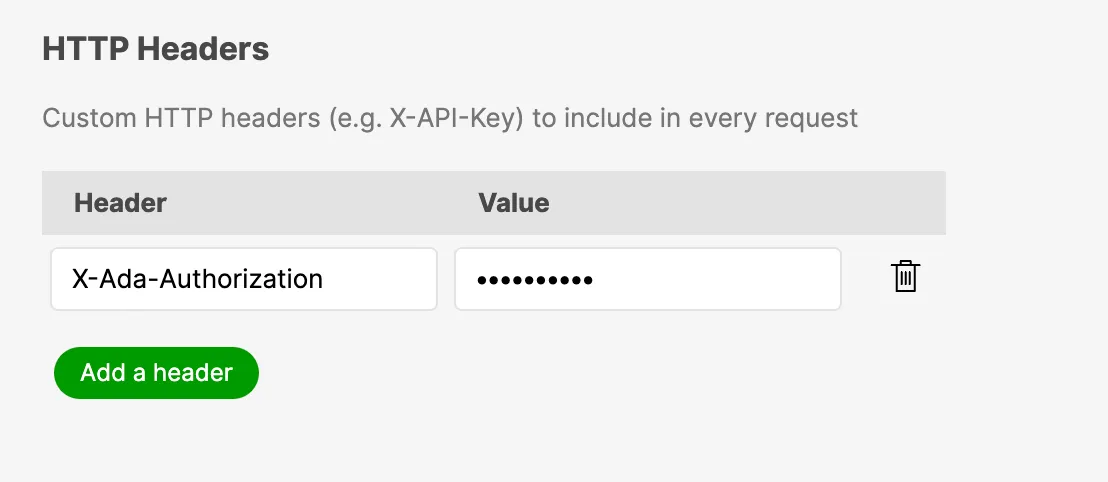
- Add a header named
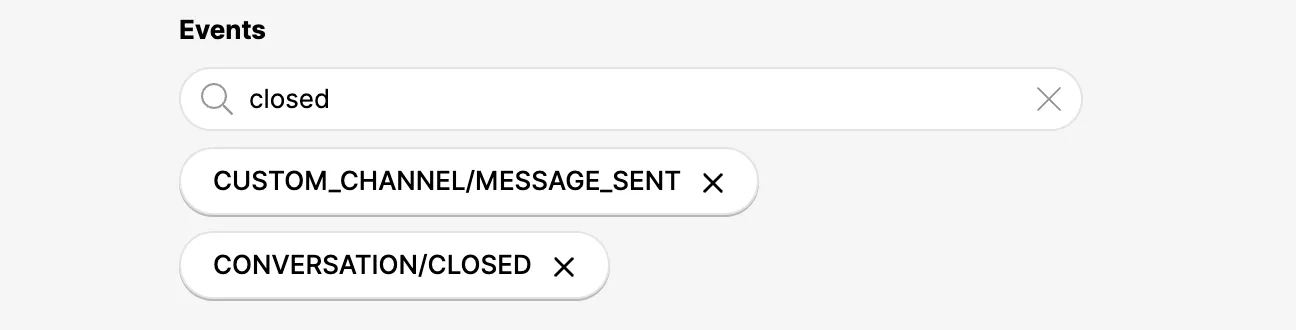
X-Ada-Authorizationwith any value. - Subscribe to the following events:
CUSTOM_CHANNEL/MESSAGE_SENTCONVERSATION/CLOSED
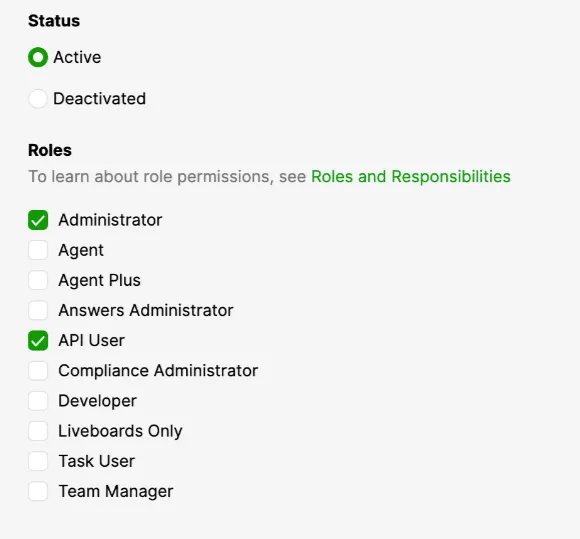
Enable the API User role for agents
Agents must have the API User role enabled so that their messages are delivered to the webhook as events. Without it, agent replies do not reach the end user.
Share credentials with your Ada team
Once your Gladly instance is configured, your Ada team completes the backend setup that connects Gladly to your AI Agent.
Your Ada team will complete the backend integration setup. Share the values below securely with your Ada representative — not in a public channel or ticket thread.
Collect and share the following:
- API user email (the integration username)
- Org ID
- Org URL
- API token
- Custom channel ID
After your Ada team confirms the backend setup is complete, continue to Configure the handoff.