Profile
Overview
Your user profile is where you manage settings including how your name appears, your login preferences, your time zone, and your email preferences.
Use cases
Profile settings help you personalize your Ada experience and secure your account.
- View reports in your local time: Set your time zone so timestamps in reports reflect your location.
- Secure your account: Enable two-factor authentication to add an extra layer of protection.
- Stay informed about errors: Enable error emails to receive notifications when issues occur.
Capabilities & configuration
From your profile, you can configure the following settings:
- Full Name: How your name appears in the Ada dashboard.
- Password: Your login credentials.
- Two-factor authentication: An extra layer of security linked to your phone number.
- Time zone: Controls how timestamps appear in Ada reports.
- Error Emails: Whether you receive email notifications when errors occur.
Quick start
Update your profile settings in a few steps.
For detailed instructions on each setting, see Implementation & usage.
Implementation & usage
Manage your profile settings from the Your Profile view in the Ada dashboard.
Update profile settings
Access your profile to change your name, password, time zone, or email preferences.
To access your profile:
-
On the Ada dashboard, at the bottom-left of the screen, click your initial, then choose Profile.
The Your Profile view opens.
-
Change whichever settings you require, then click Save.
Change name and password
Update how your name appears and secure your account with a new password.
To change your name:
-
In the Full Name field, type a new name.
-
Click Save.
To change your password:
-
Enter your current password in the Current Password field.
-
Enter a new password in the New Password field, ensuring that you meet the password requirements.
-
Click Change Password.
Activate two-factor authentication
Two-factor authentication adds an extra layer of protection to your Ada account by linking your account with your phone number.
To activate two-factor authentication:
-
Enter your Country Code and Phone Number into the respective fields.
-
Click Request Activation Code.
You receive a code via SMS.
-
In the Authentication Code field, enter the security code from the SMS and click Activate.
You receive an email to verify that you have activated two-factor authentication on your account.
When you activate two-factor authentication, every time you sign in with your password, you receive a code via SMS that you need to use to log in.
To disable two-factor authentication:
-
Click Disable.
-
In the confirmation window, click OK.
Change time zone
Set your time zone so that timestamps in Ada reports reflect your local time.
To change your time zone:
-
Select your time zone from the dropdown.
-
Click Save.
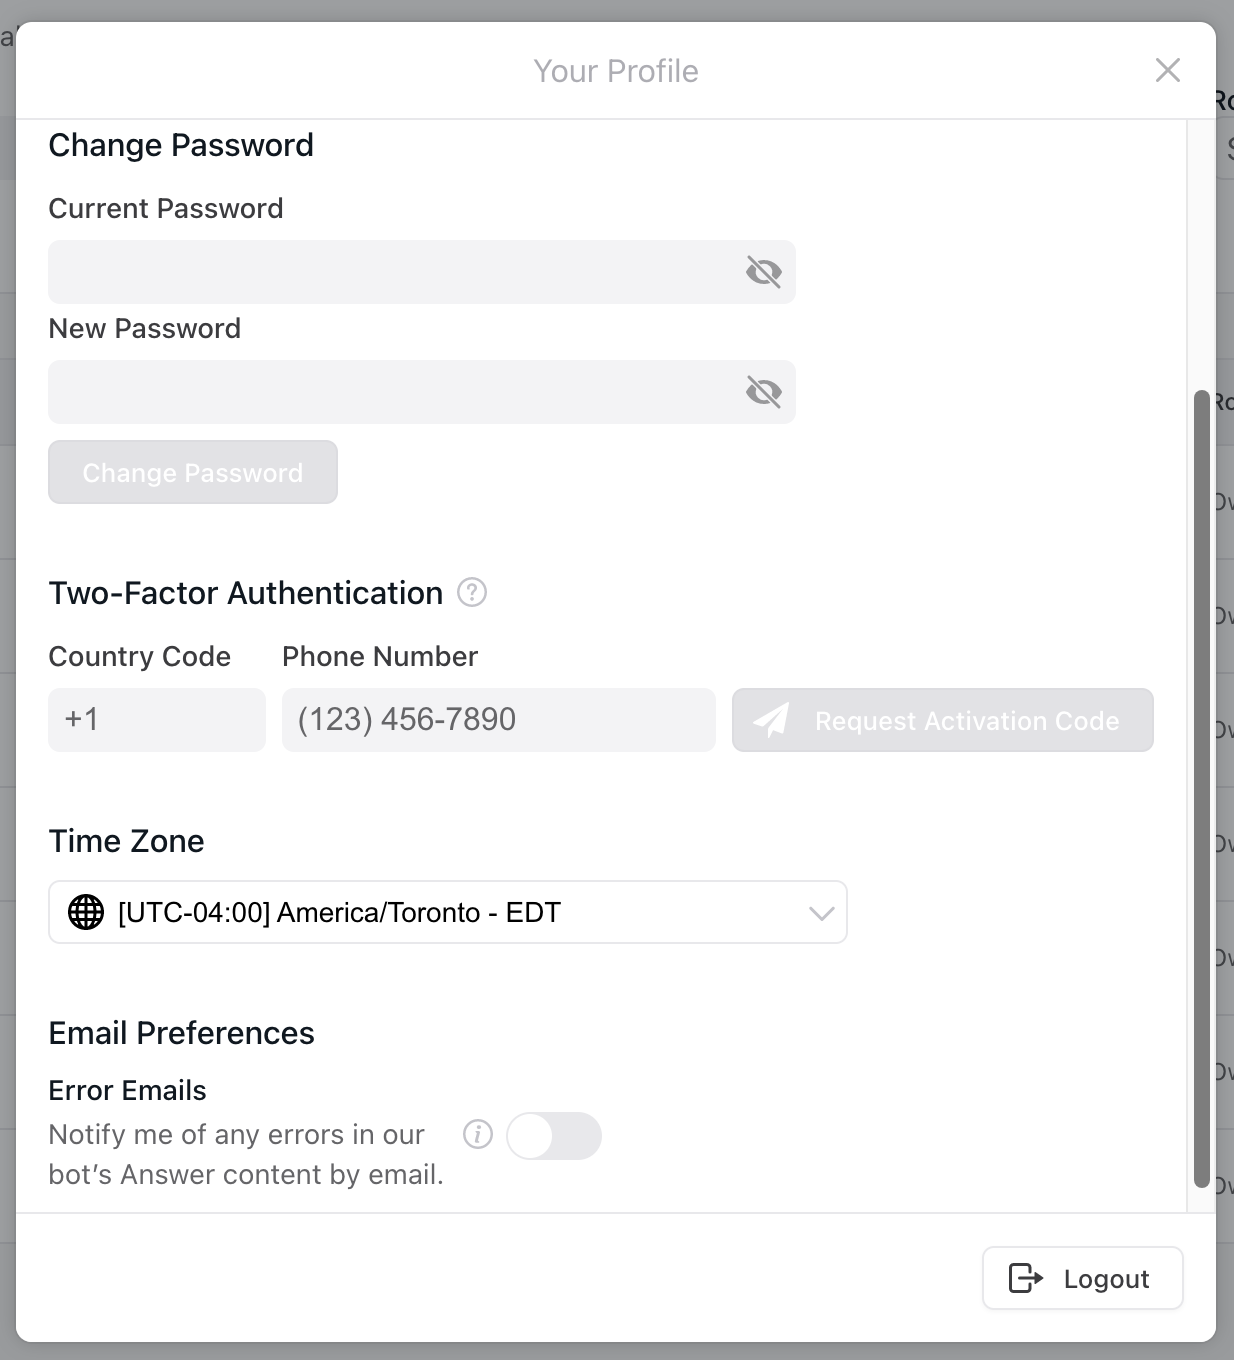
Change email preferences
Control whether you receive error notification emails from Ada.
When a Request block or variable fails, Ada generates an error. You can choose to receive an email whenever an error occurs.
To enable or disable error emails:
-
Enable or disable the Error Emails toggle.
-
Click Save.
Related features
Explore additional account and access options.