

Custom attributes and tags
In Dixa, you can define custom conversation attributes and tags that Ada populates during a handoff to give the human agent additional context and to support reporting. These steps only need to be completed once per Dixa instance, or whenever you want to add more attributes or tags — not each time you connect a new AI Agent.
Custom attributes
Additional fields on a Dixa conversation let Ada pass context to the human agent during a handoff and support reporting. These fields are similar to ticket fields in other platforms such as Zendesk. Dixa supports two attribute types: Text, which accepts any string value, and Select, which is a pick list limited to the options you define.
To create a custom attribute:
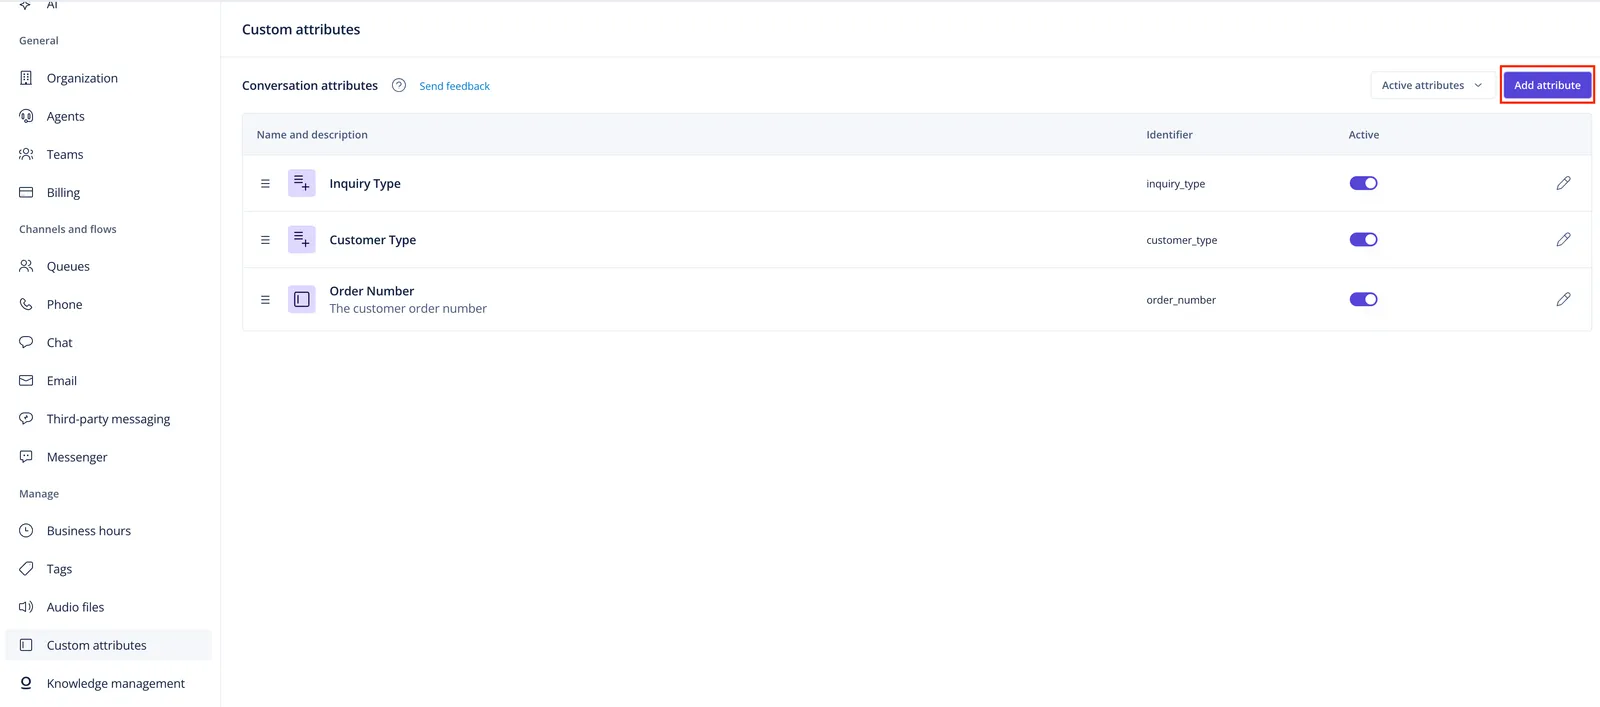
- In your Dixa instance, go to Settings → Custom attributes (under Manage) and click Add attribute.
- Choose the attribute type you want to create.
- Select attributes are pick lists. You can define multiple nested levels, and the allowed values are limited to the options you define.
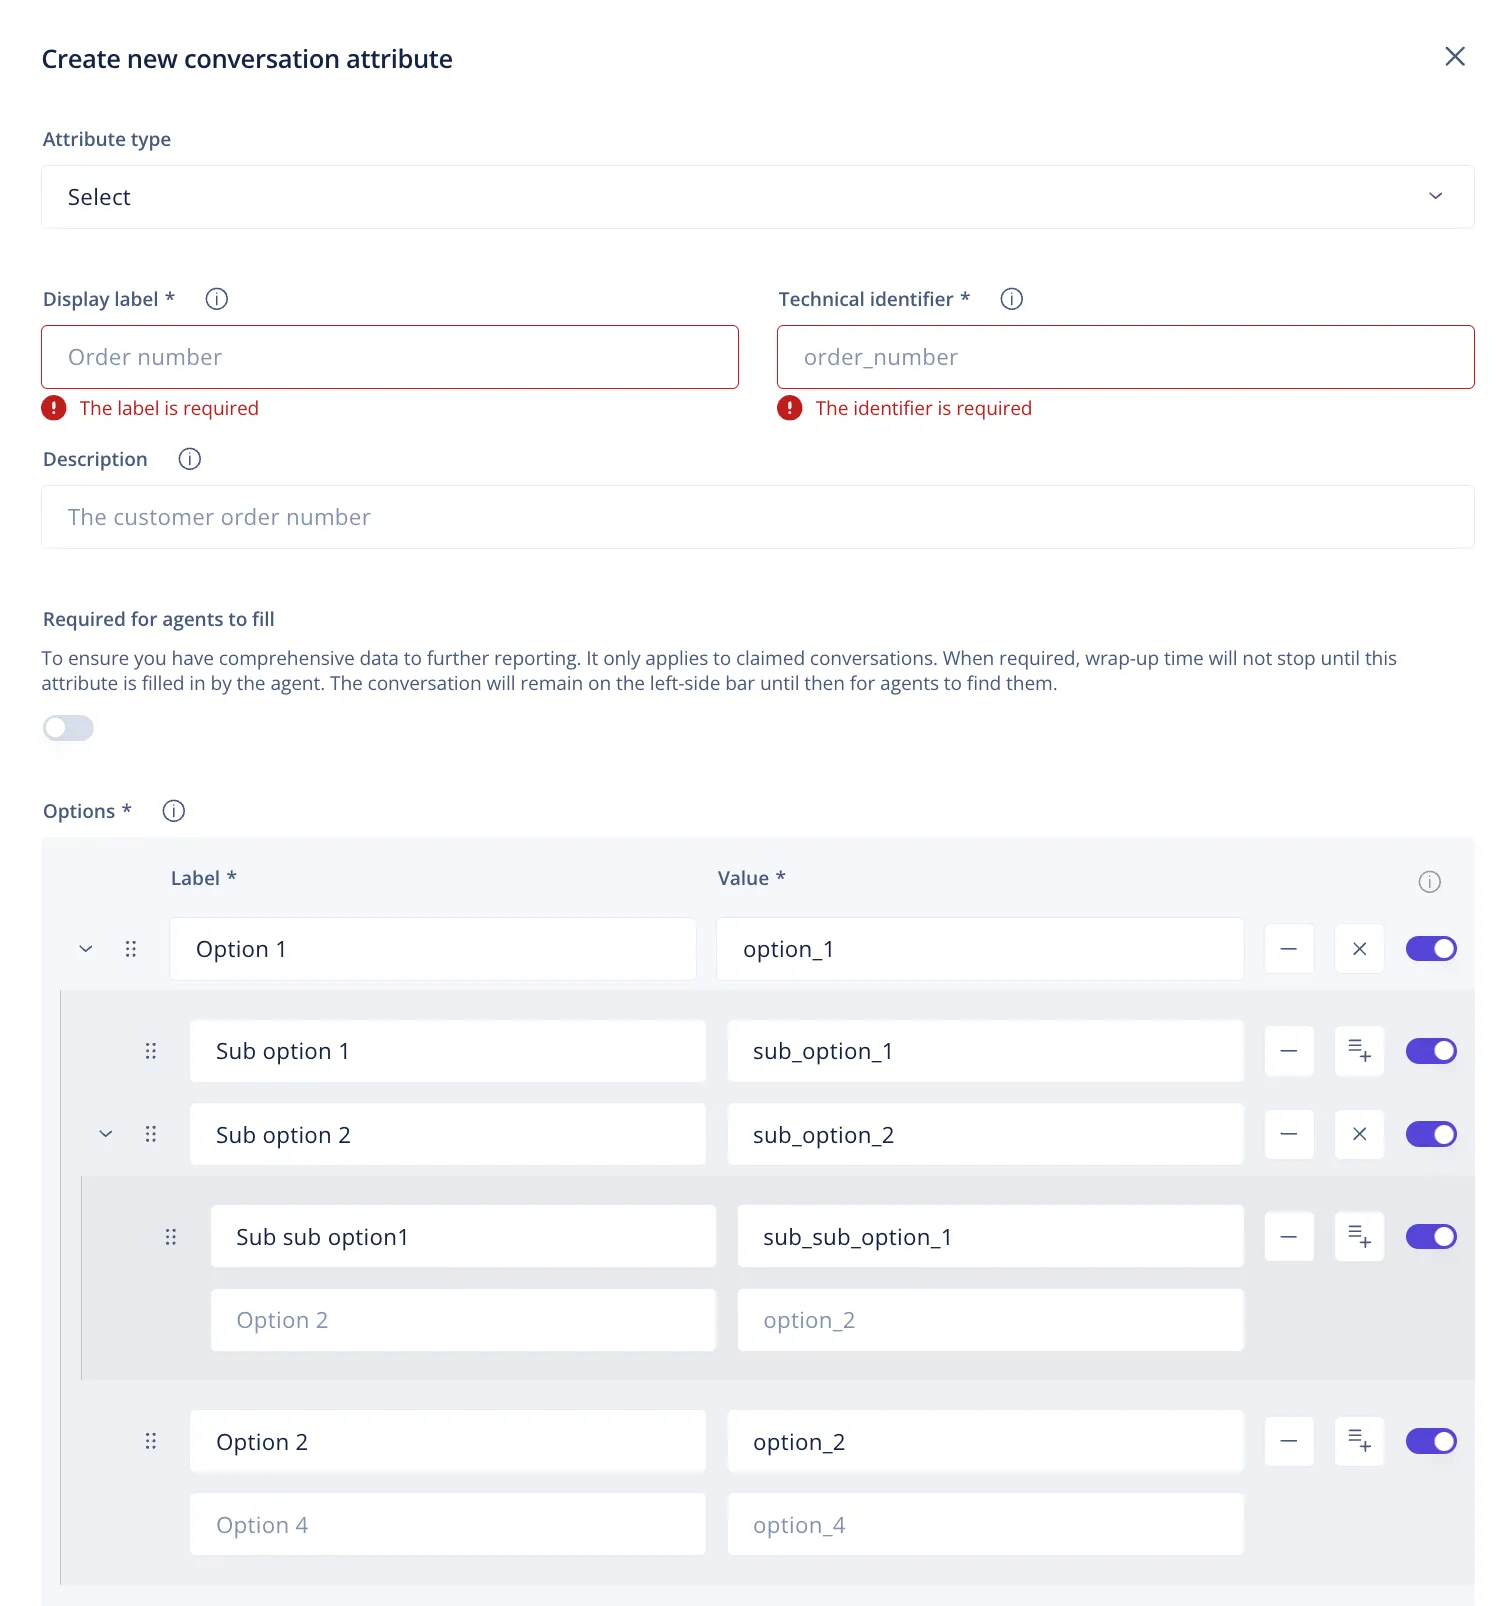
The Value field for each option must be unique and cannot be changed once created. Once an option is created, it cannot be removed.
- Text attributes accept any string value.
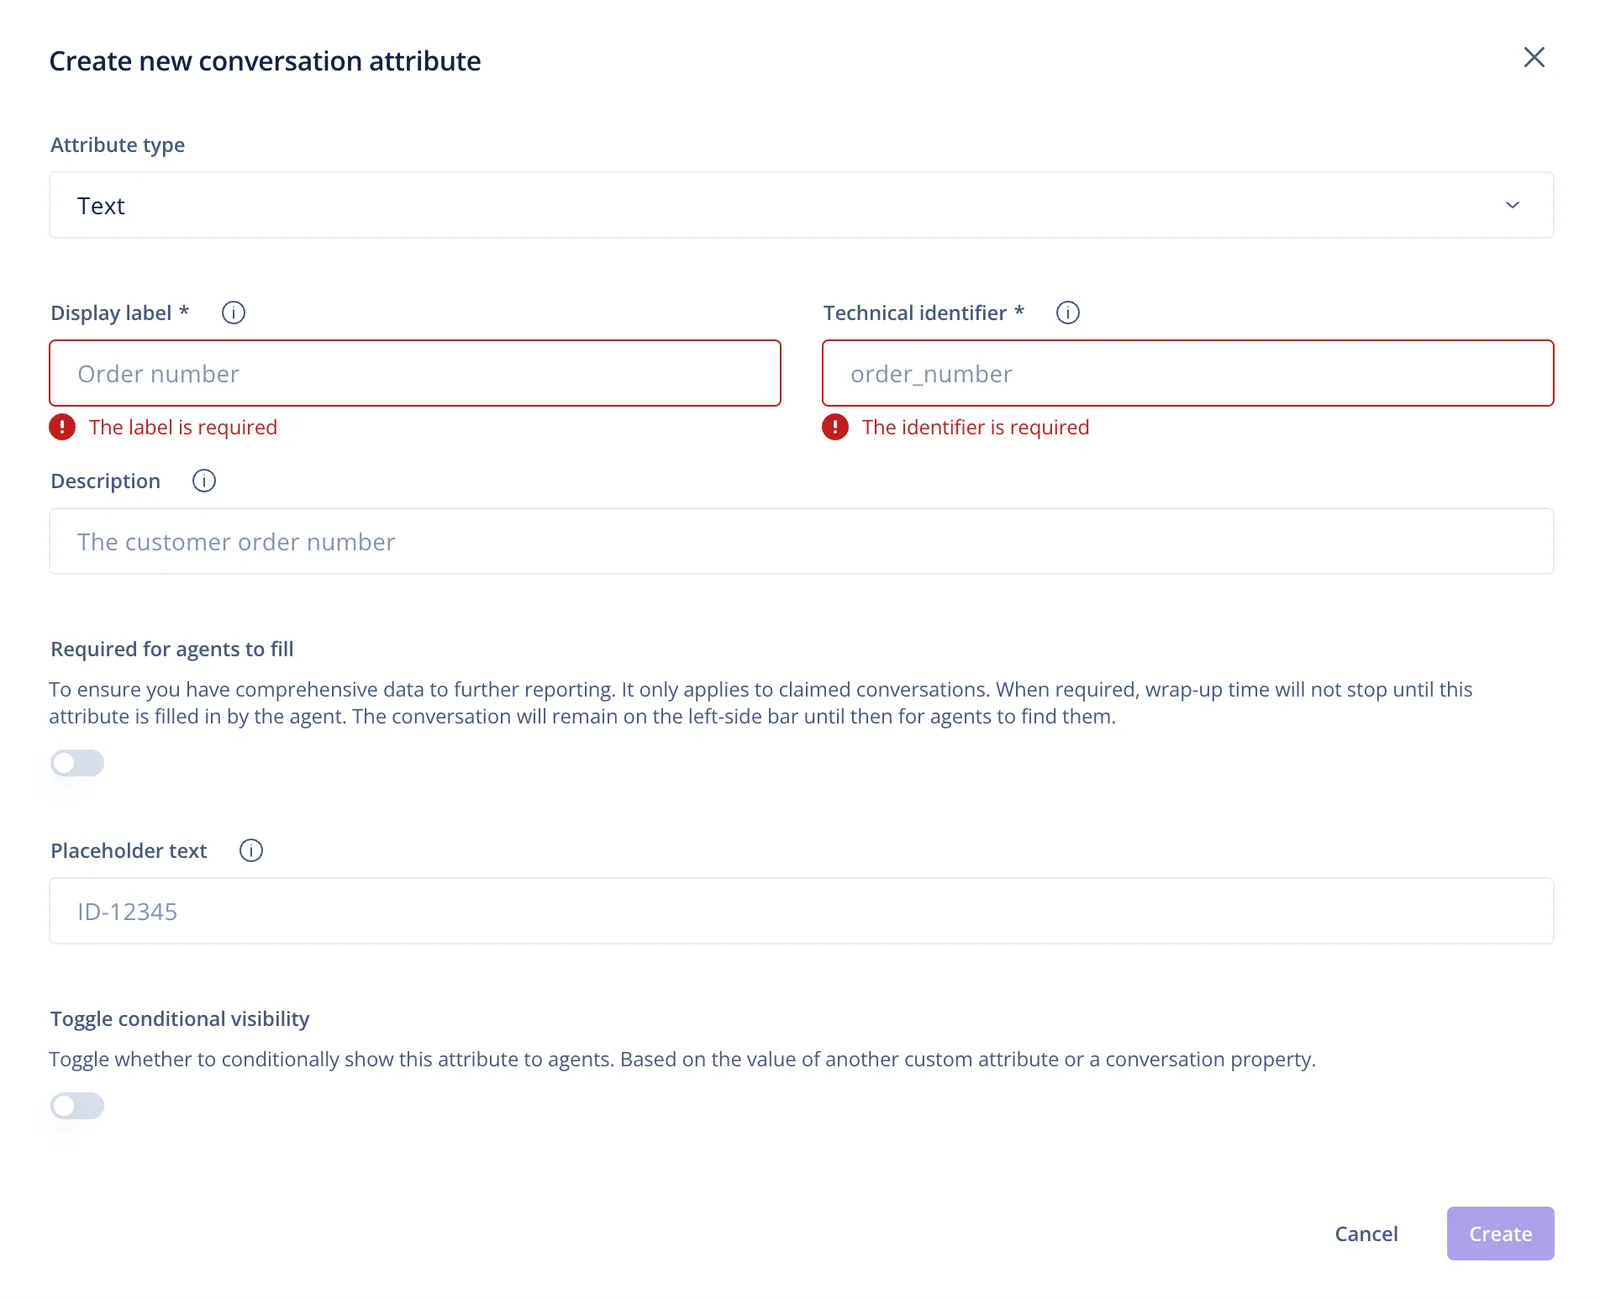
Regardless of the attribute type, the Display label and Technical identifier fields are required. For a Select attribute, at least one option must also be added, with both a label and a value.
The Technical identifier for each attribute must be unique. Once a custom attribute is created, its technical identifier cannot be changed and the attribute itself cannot be deleted — it can only be set to inactive.
- Once the required fields are filled in, click Create and make note of the technical identifier. The technical identifier is needed when you configure the Dixa Utilities app in your AI Agent.
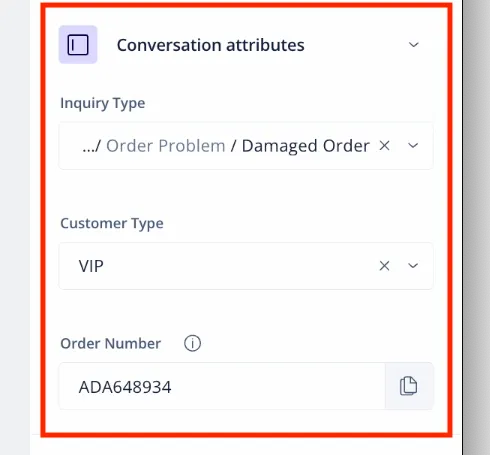
The custom attributes you define appear to agents in the right sidebar of the conversation view, and can be populated with values passed by Ada.
Tags
Categorizing conversations for reporting relies on tags that you define in advance, which Ada can then apply during a handoff. Only tags that have been defined can be assigned to a conversation — this differs from how tags work in some other platforms such as Zendesk.
To create a tag:
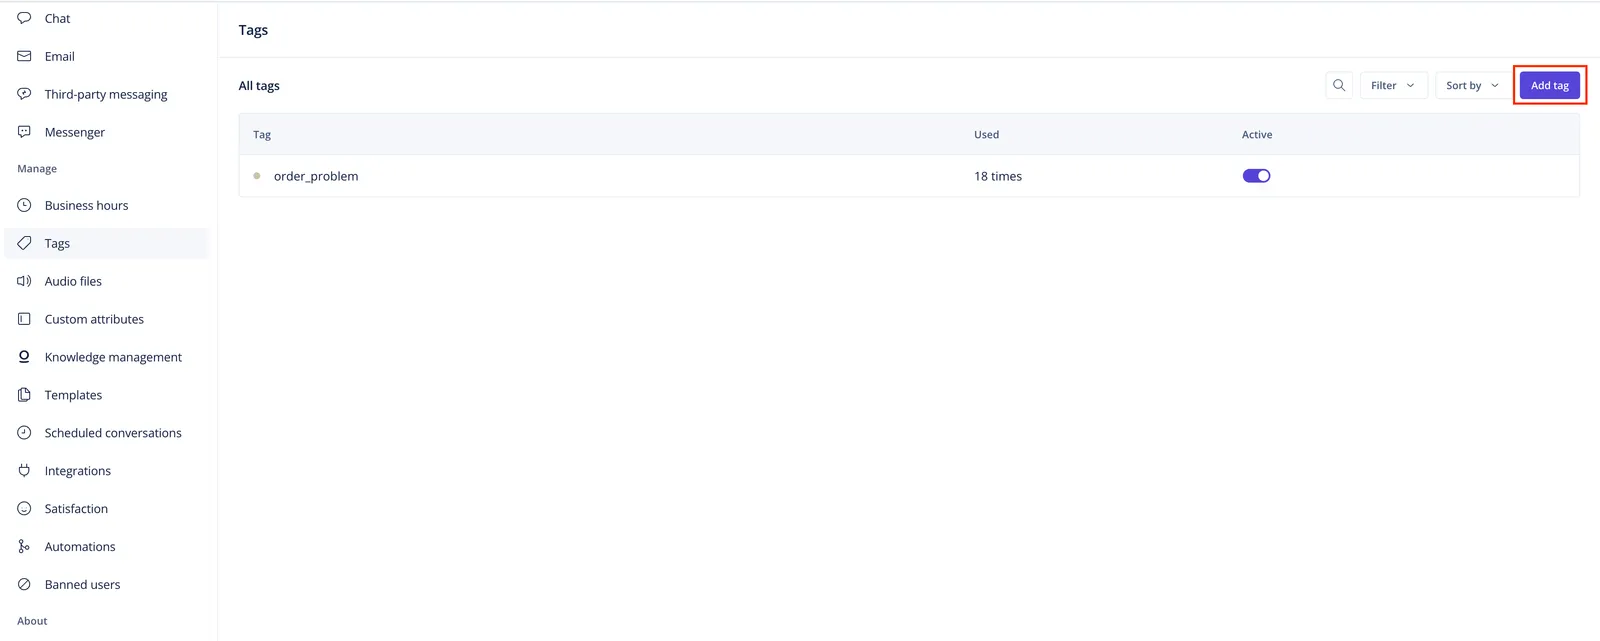
- In your Dixa instance, go to Settings → Tags (under Manage) and click Add tag.
- Enter a Name for the tag and select a tag color.
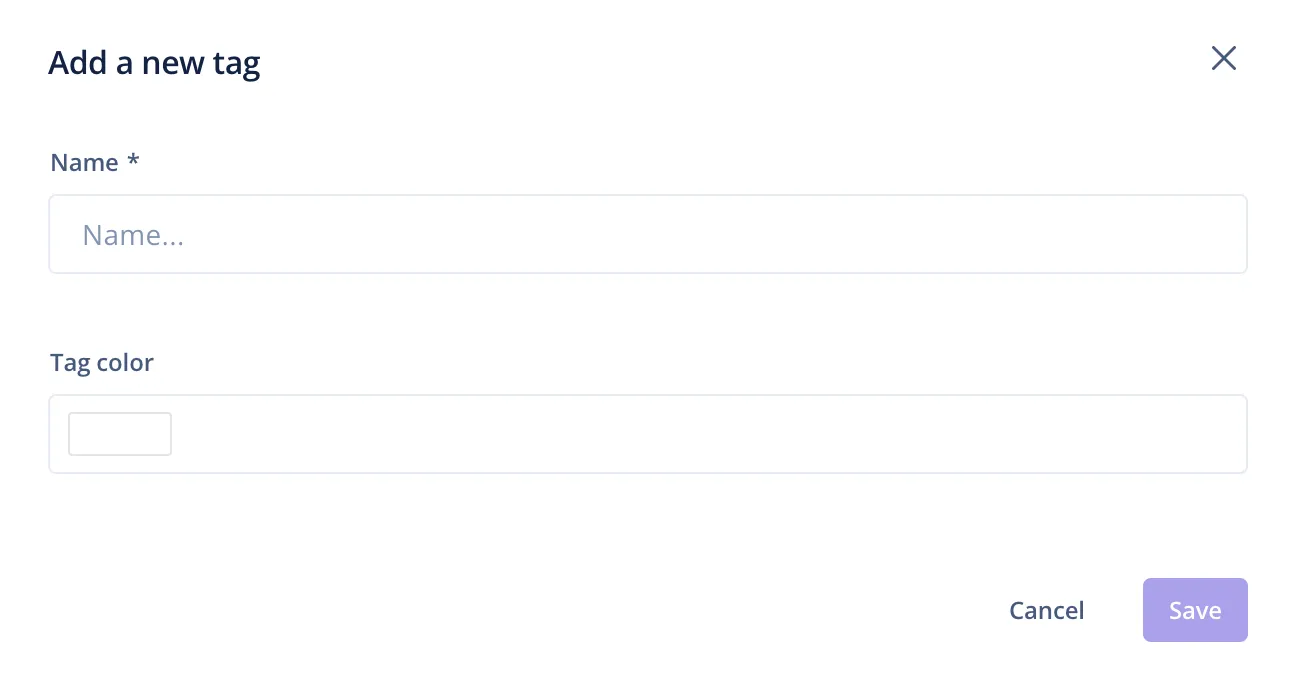
- Click Save to create the tag.
The Name for each tag must be unique. Once a tag is created, its name cannot be changed and the tag itself cannot be deleted — it can only be set to inactive.
The tags you define appear to agents at the top of the conversation view, and can be set by Ada. Multiple tags can be assigned to a single conversation.
