Initial Dixa configuration
Before you can connect an AI Agent to Dixa, the Ada chatbot feature must be enabled in your Dixa instance and you must create a chatbot token. These steps only need to be completed once per Dixa instance — not each time you connect a new AI Agent.
Support for the Ada chatbot feature must be enabled by the Dixa team before you continue. Contact your Dixa representative to request it.
Add yourself to the default queue
To test a handoff, add yourself as an agent to the default Dixa queue so that escalated conversations can be routed to you. This step is optional and only needed for testing.
To add yourself to the default queue:
- In your Dixa instance, go to Settings → Queues.
- Under the default queue, click the queue name.
- On the Agents tab, click Add agent and add yourself to the queue.

Create an Ada chatbot in Dixa
Create a chatbot of type Ada in Dixa to generate the API token that connects Dixa to your AI Agent.
To create the chatbot:
- In your Dixa instance, go to Settings → Chatbots.
- Click Connect chatbot.
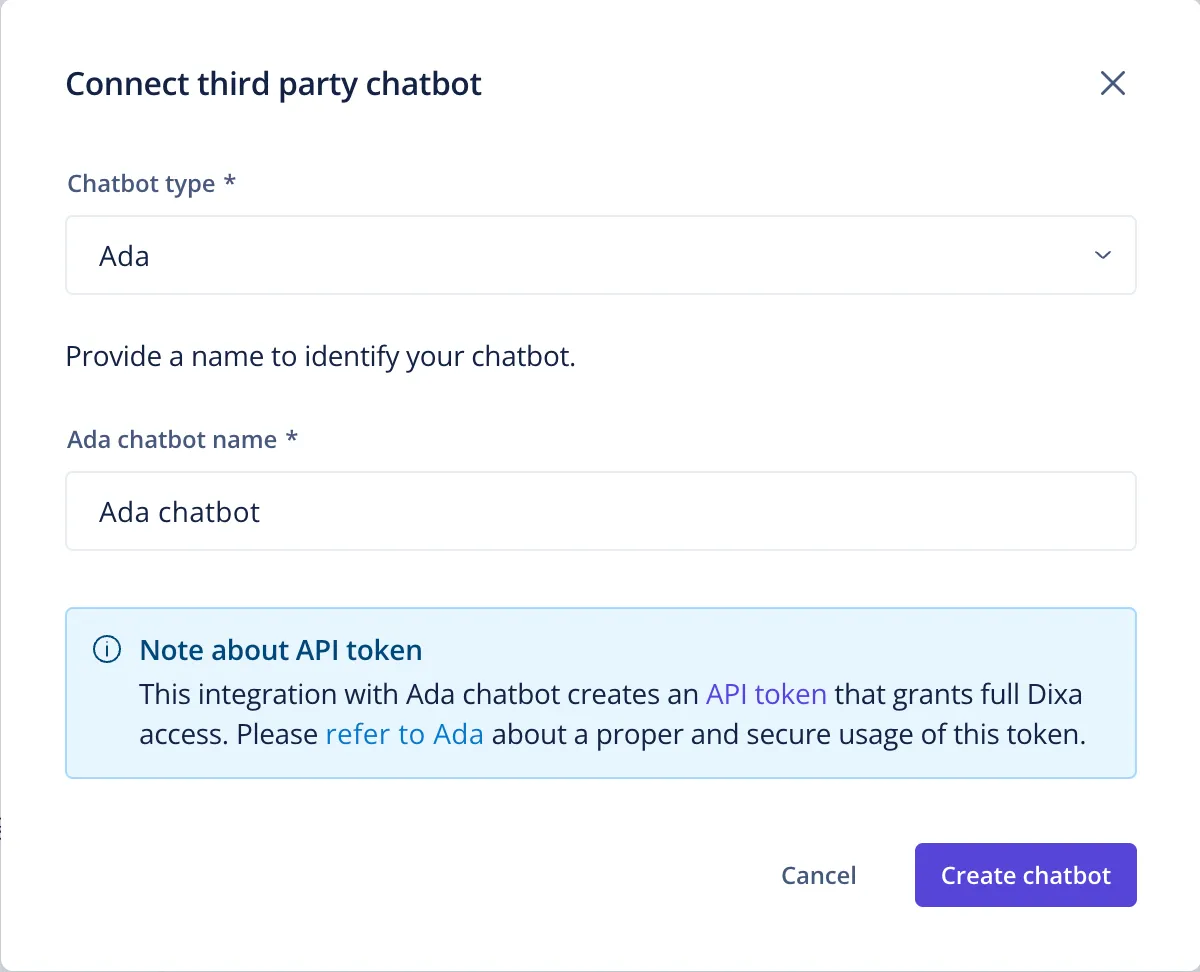
- Select Ada as the chatbot type, enter a name for the chatbot, and click Create chatbot.
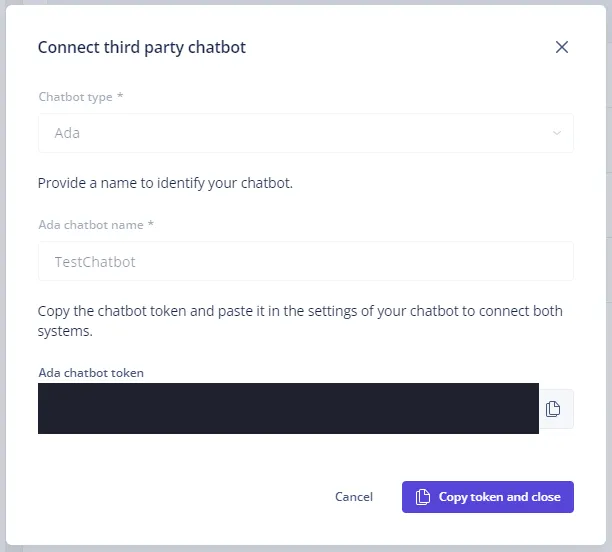
- Copy the generated token and store it in a safe place. This token is used later when you connect the Dixa Utilities app to your AI Agent.