

Configure the Microsoft Dynamics 365 handoff
After you complete the initial configuration and share your credentials, your Ada team installs the integration. When that is complete, the MS Dynamics Ticketing app appears in Config → Apps in your AI Agent dashboard, and you can configure the handoff.
Your Ada team will complete the installation step during the integration setup. Contact your Ada representative to confirm when this step is finished before proceeding.
Connect the app
The app needs your Dynamics 365 credentials before the Create Ticket block can create Cases.
To connect the MS Dynamics Ticketing app:
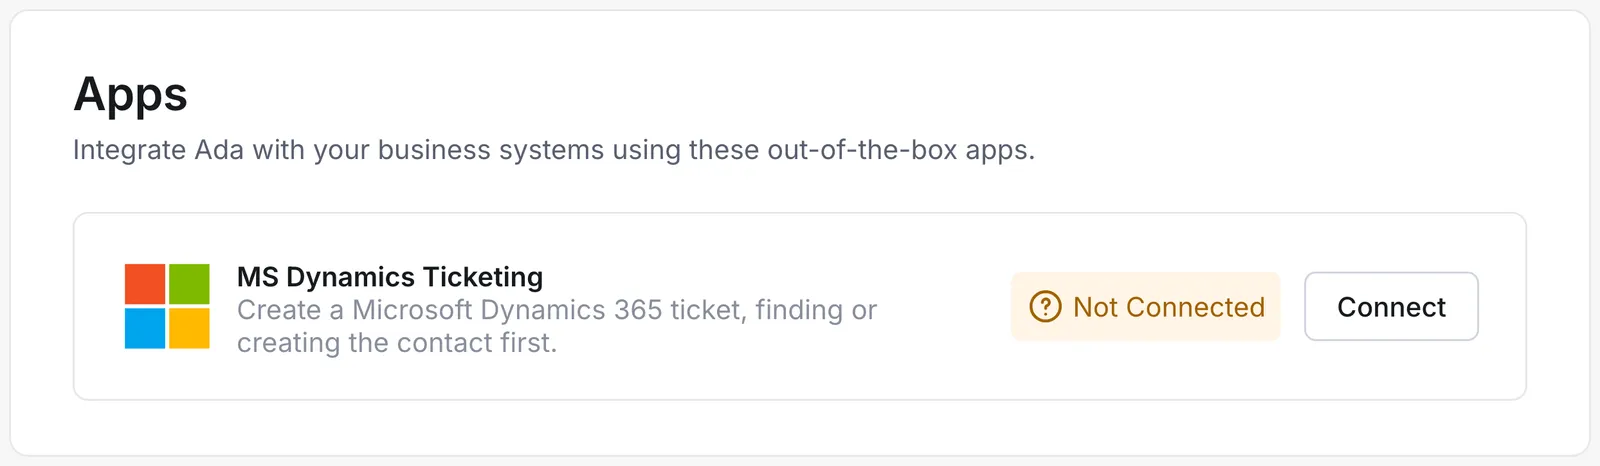
- In your AI Agent dashboard, go to Config → Apps.
- Find MS Dynamics Ticketing and click Connect.
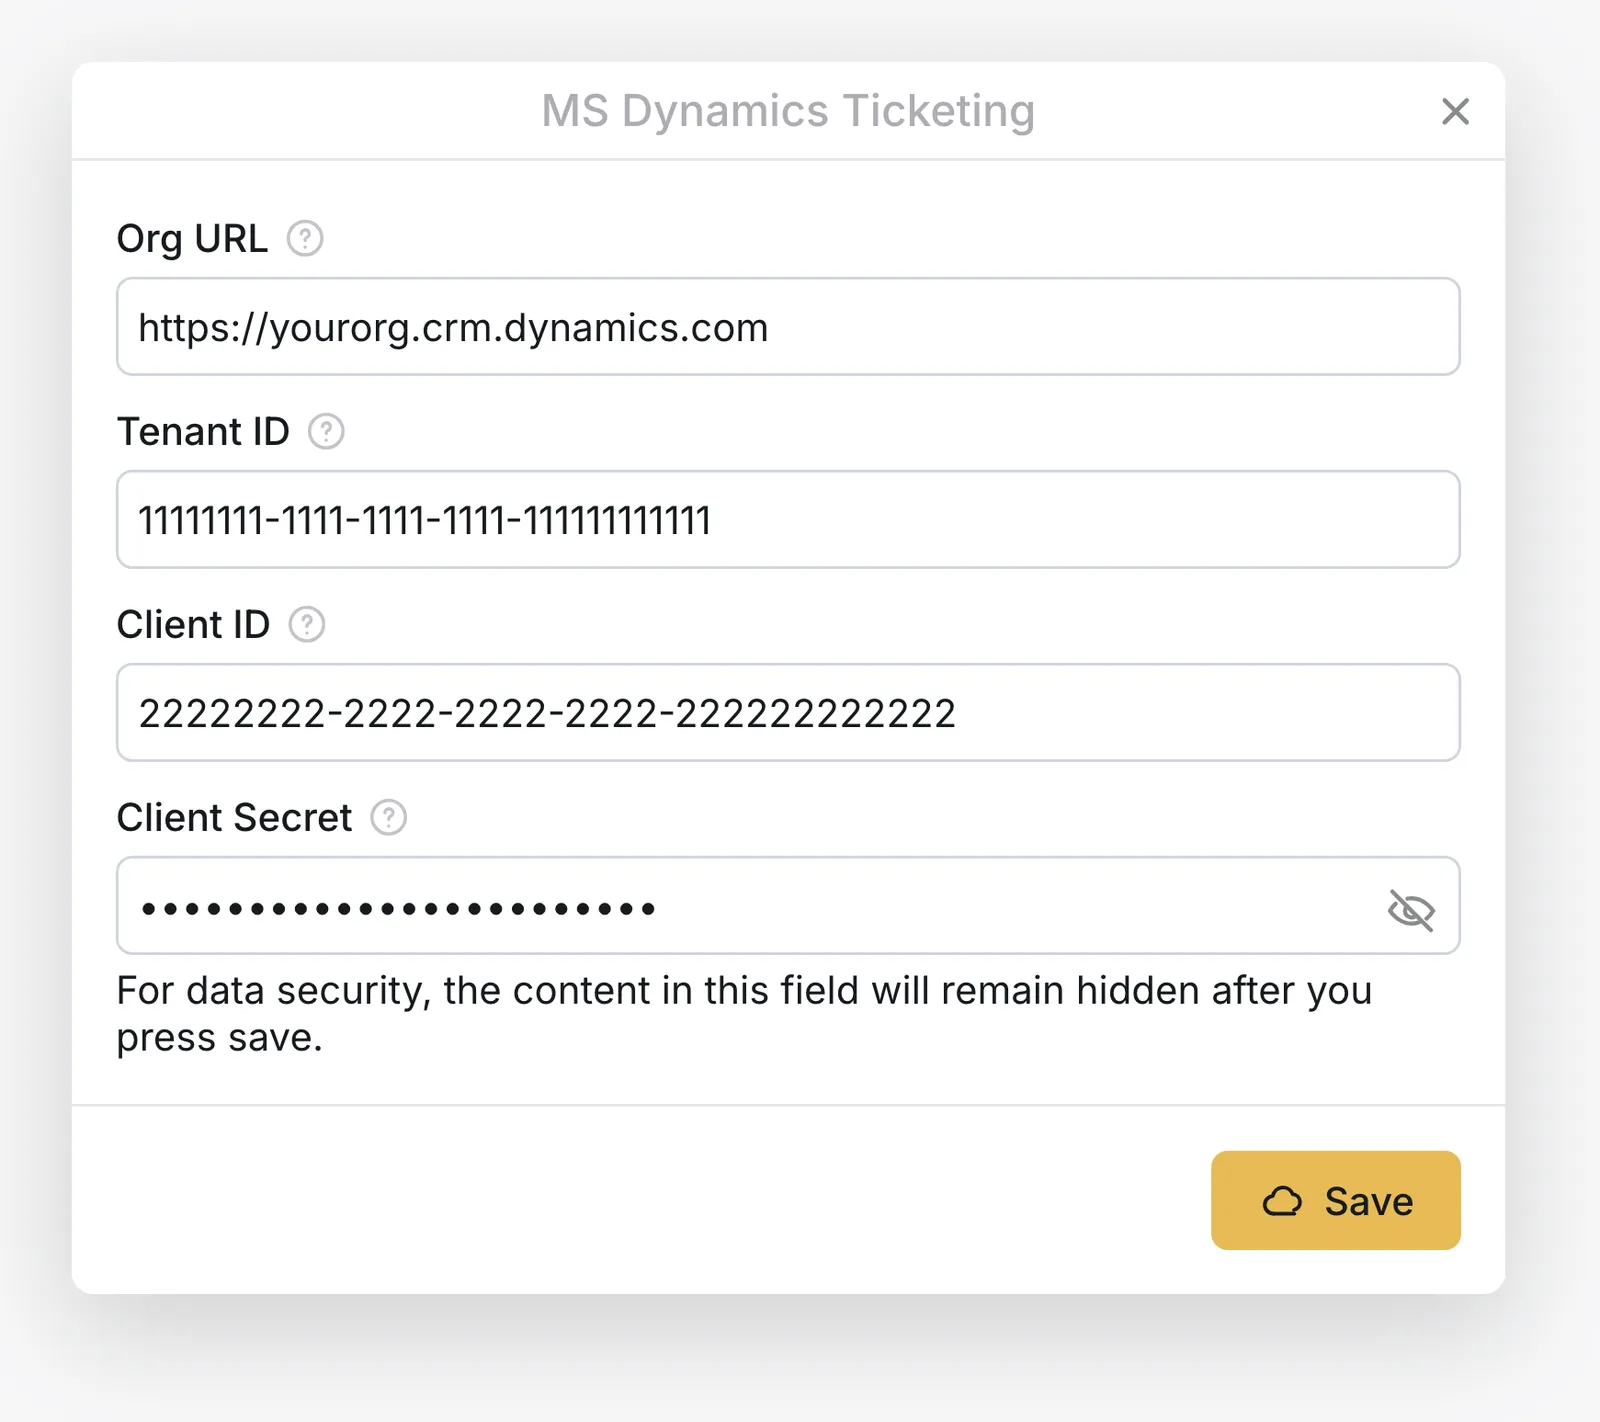
- Enter the values from the initial configuration:
- Click Save.
Add the Create Ticket block
The Create Ticket action finds or creates the Contact, then creates a Case linked to it.
To add the Create Ticket block to your Handoff:
- In your handoff answer, add the MS Dynamics Ticketing block.
- Under Action, select Create Ticket.
- Fill in the inputs described in the table below.
- Under Save Response as Variables, optionally save the returned values described in the outputs table below.
- Set the block’s Fallback Answer, so the conversation has a defined path when the Case cannot be created.
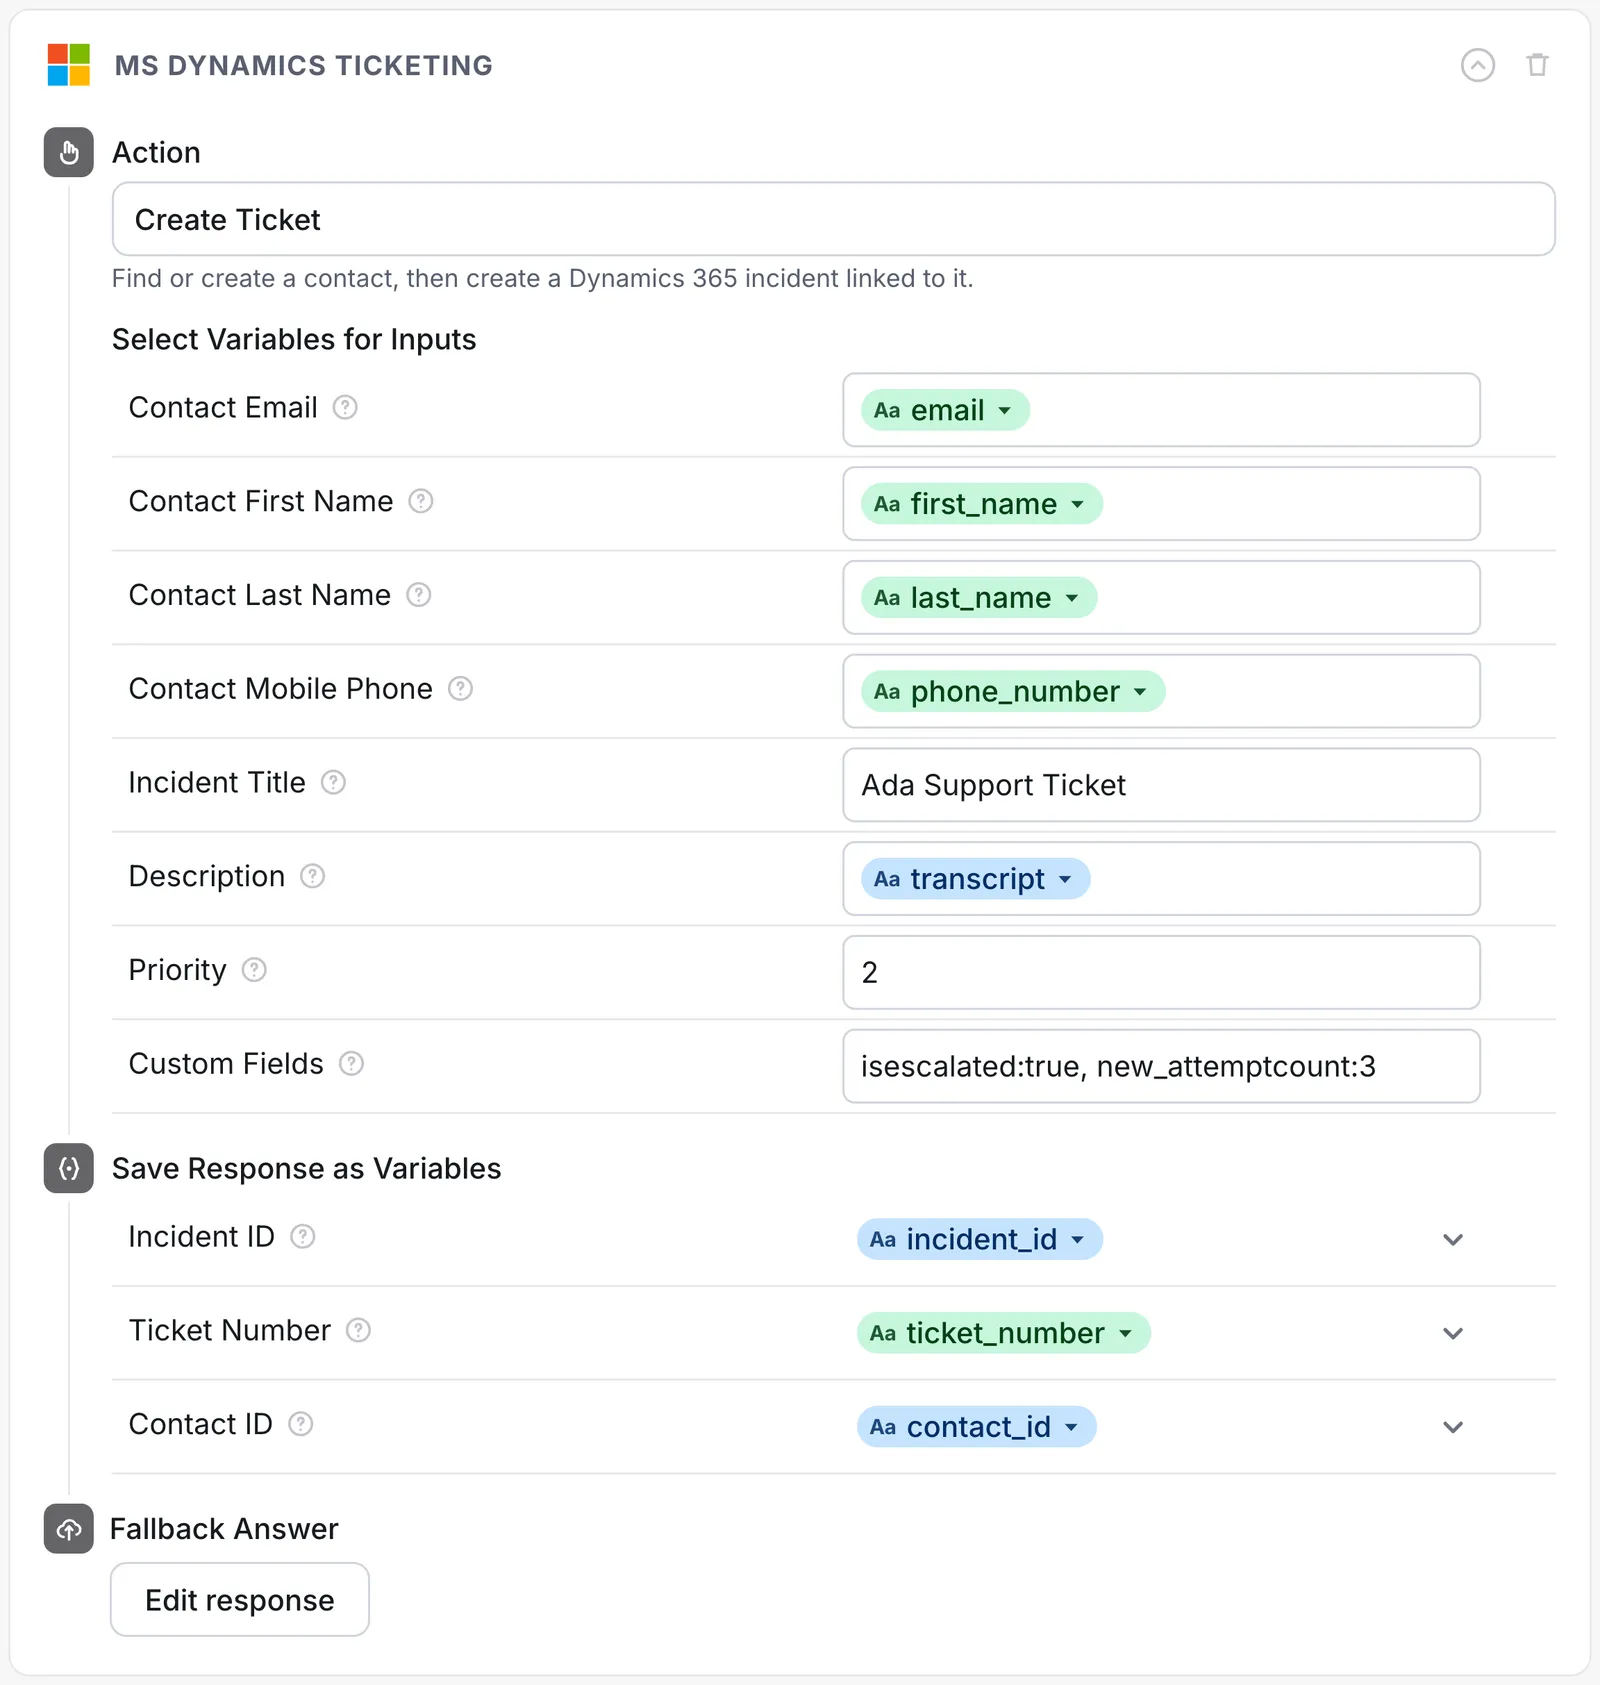
The Create Ticket action accepts the following inputs:
The action returns the following values:
If the Contact or the Case cannot be created, nothing is created in Dynamics 365 and the conversation follows the Fallback Answer.
Custom field format
Use Custom Fields to set additional Case fields by their logical name, for example:
Each value is converted to the field’s type in Dynamics 365:
- Text accepts any text.
- Yes/no accepts only
trueorfalse, in any casing. - Whole number accepts
5or5.0, but not5.7. - Decimal accepts
5or5.5.
Escape a literal comma or colon in a value with \, or \:. Only the first colon in a pair separates the name from the value, so errcode:HTTP:500 needs no escaping.
Custom fields are applied last, so a pair named title, description, or prioritycode replaces the value set by the corresponding input. Do not set system-managed fields such as ticketnumber or statuscode: Dynamics 365 rejects them, and the Case is then created without any custom fields.
Test the integration
Run one test handoff to confirm the Case and Contact are created as expected.
To test the integration:
- Trigger the Create Ticket action once from a test conversation with a test Contact.
- In Dynamics 365, confirm that a Case was created.
- Confirm the Case is linked to the expected Contact, rather than to a newly created duplicate.
- Confirm the AI Agent received the Incident ID, Ticket Number, and Contact ID.