Create a simple AI Agent
The following steps will guide you through setting up a basic AI Agent that can respond to customer inquiries using knowledge sources. This establishes a functional starting point before incorporating advanced automation features.
When you’ll see this setup process
- The specified AI Agent does not yet have any Knowledge articles or sources.
- You have a role with edit permissions (Agent or higher).
- You have not previously completed initial setup.
Most people who obtain access to their AI Agent don’t go through this setup process. Ada’s Customer Experience (CX) team usually configures AI Agents in advance, adding Knowledge (at minimum), and sometimes also customizing the Persona. You’ll only go through this flow if your AI Agent is brand new and hasn’t been configured yet. To ensure setup completes correctly, do not click the Skip button during the onboarding flow.
Step 1: Personalize your AI Agent

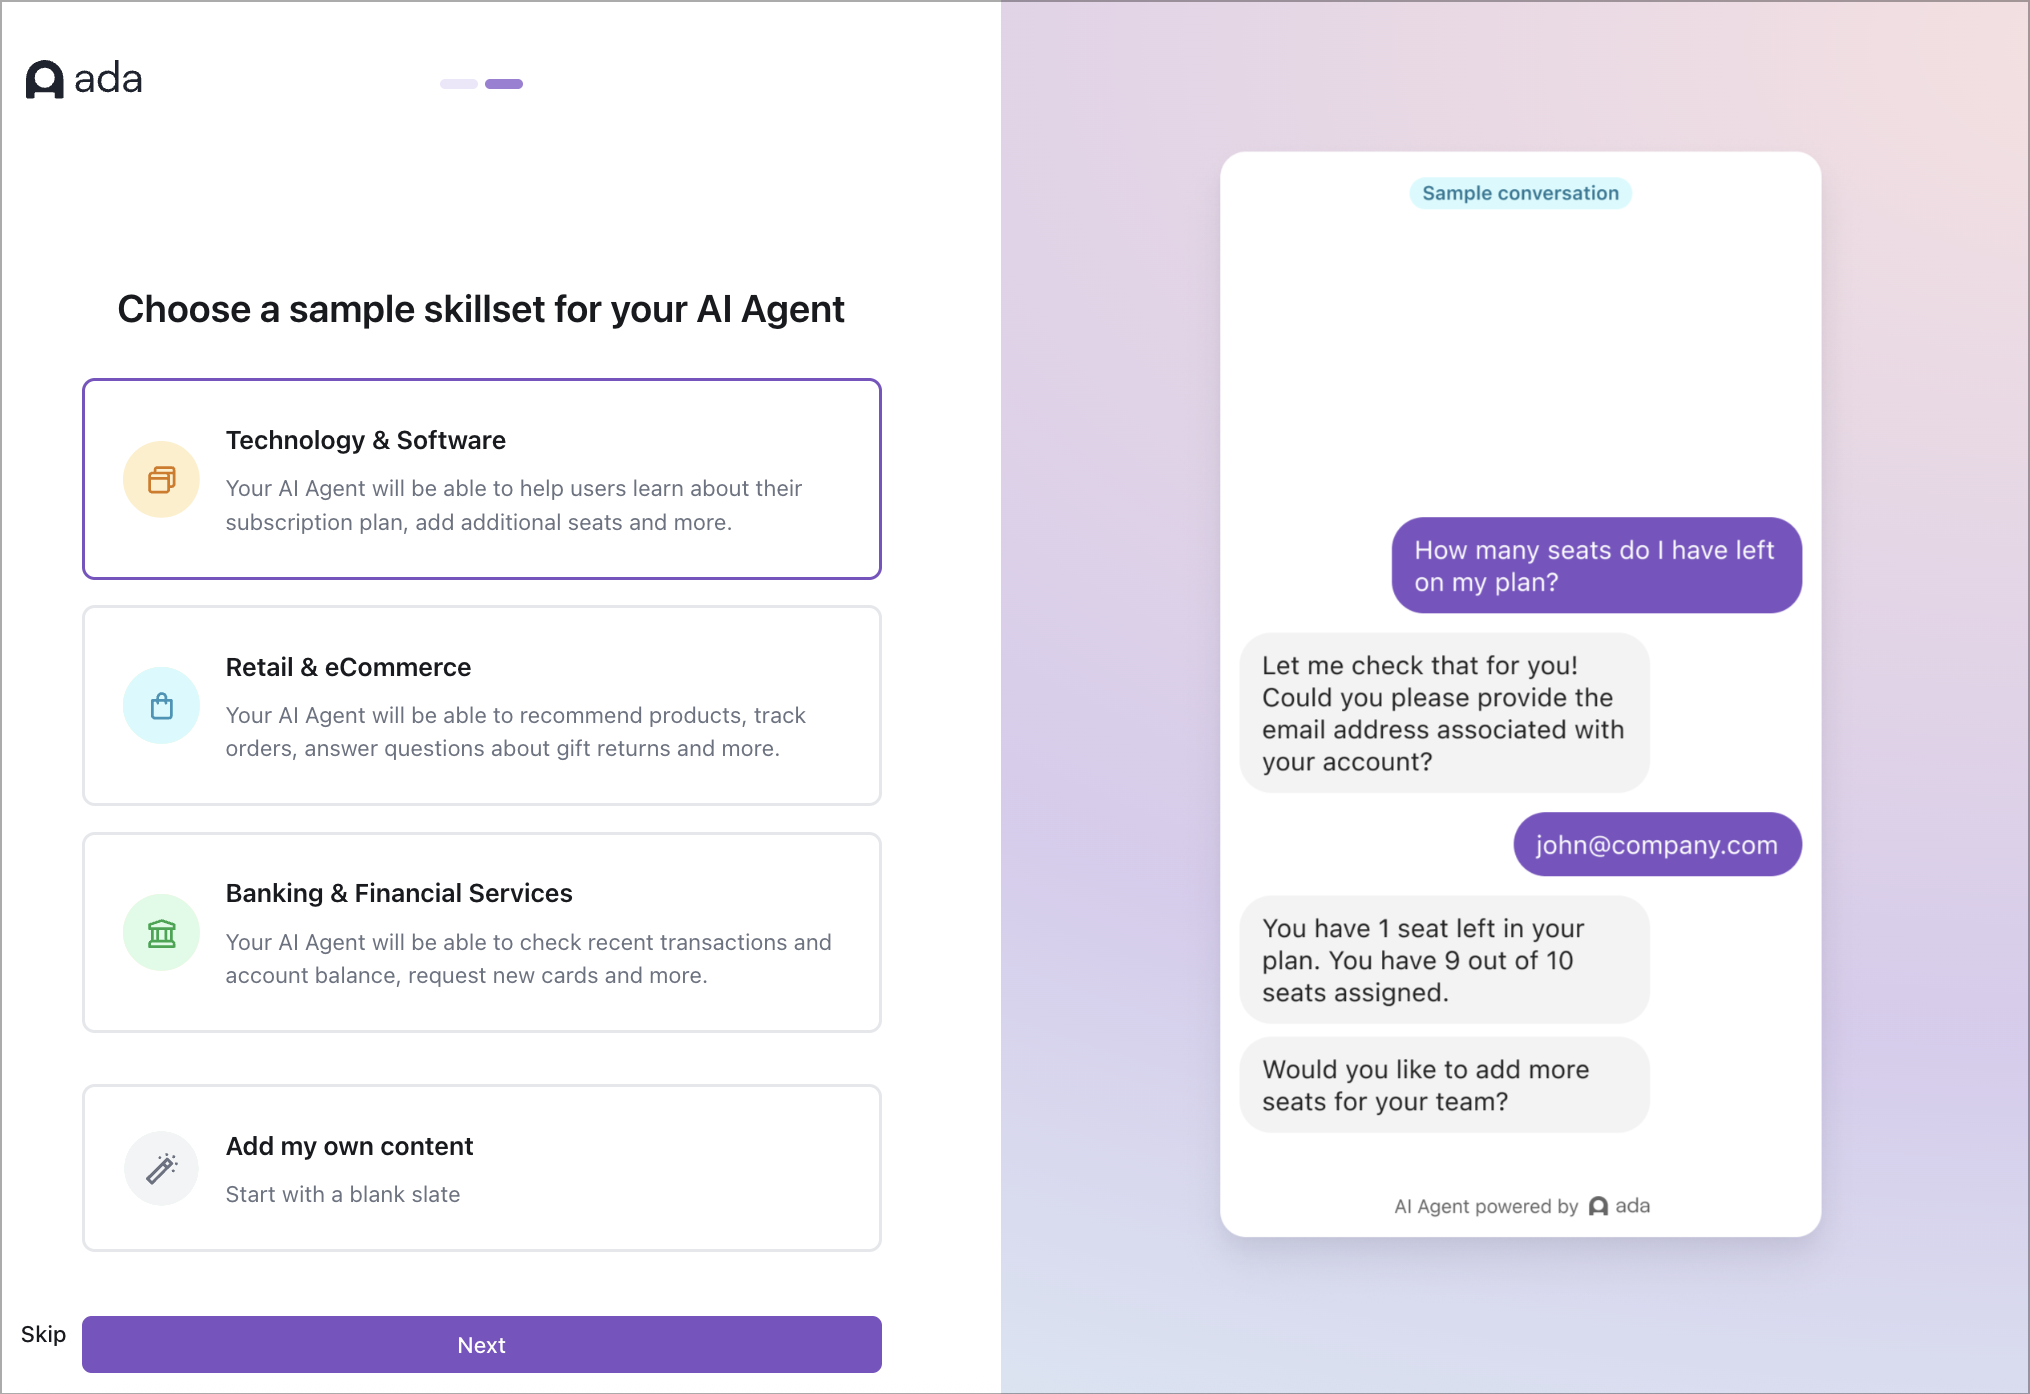
Step 2: Choose a sample skillset
Your AI Agent needs a field of knowledge to get started. Select one of the following:
- Technology & software: Answers common software and troubleshooting questions.
- Retail & eCommerce: Provides product recommendations, order tracking, return information, and more.
- Banking & financial services: Assists with checking balances, reviewing transactions, requesting new cards, and more.
- Add my own content: Start with a blank slate and define your AI Agent’s knowledge manually.
On the right side of the page, sample conversations will appear to give you an idea of how each selection works. When ready, click Next.

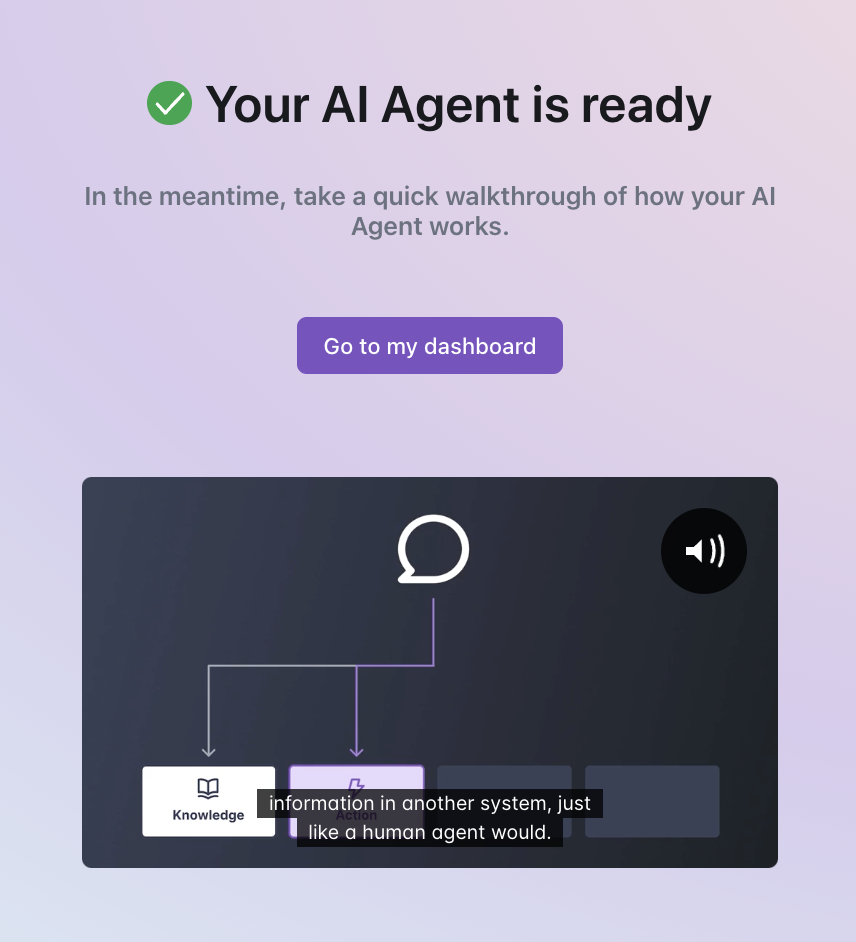
Step 3: Watch a quick walkthrough
While Ada sets up your AI Agent, watch the introductory video that explains how your AI Agent works. Once setup is complete, click Go to My Dashboard.

Step 4: Add Knowledge to your AI Agent
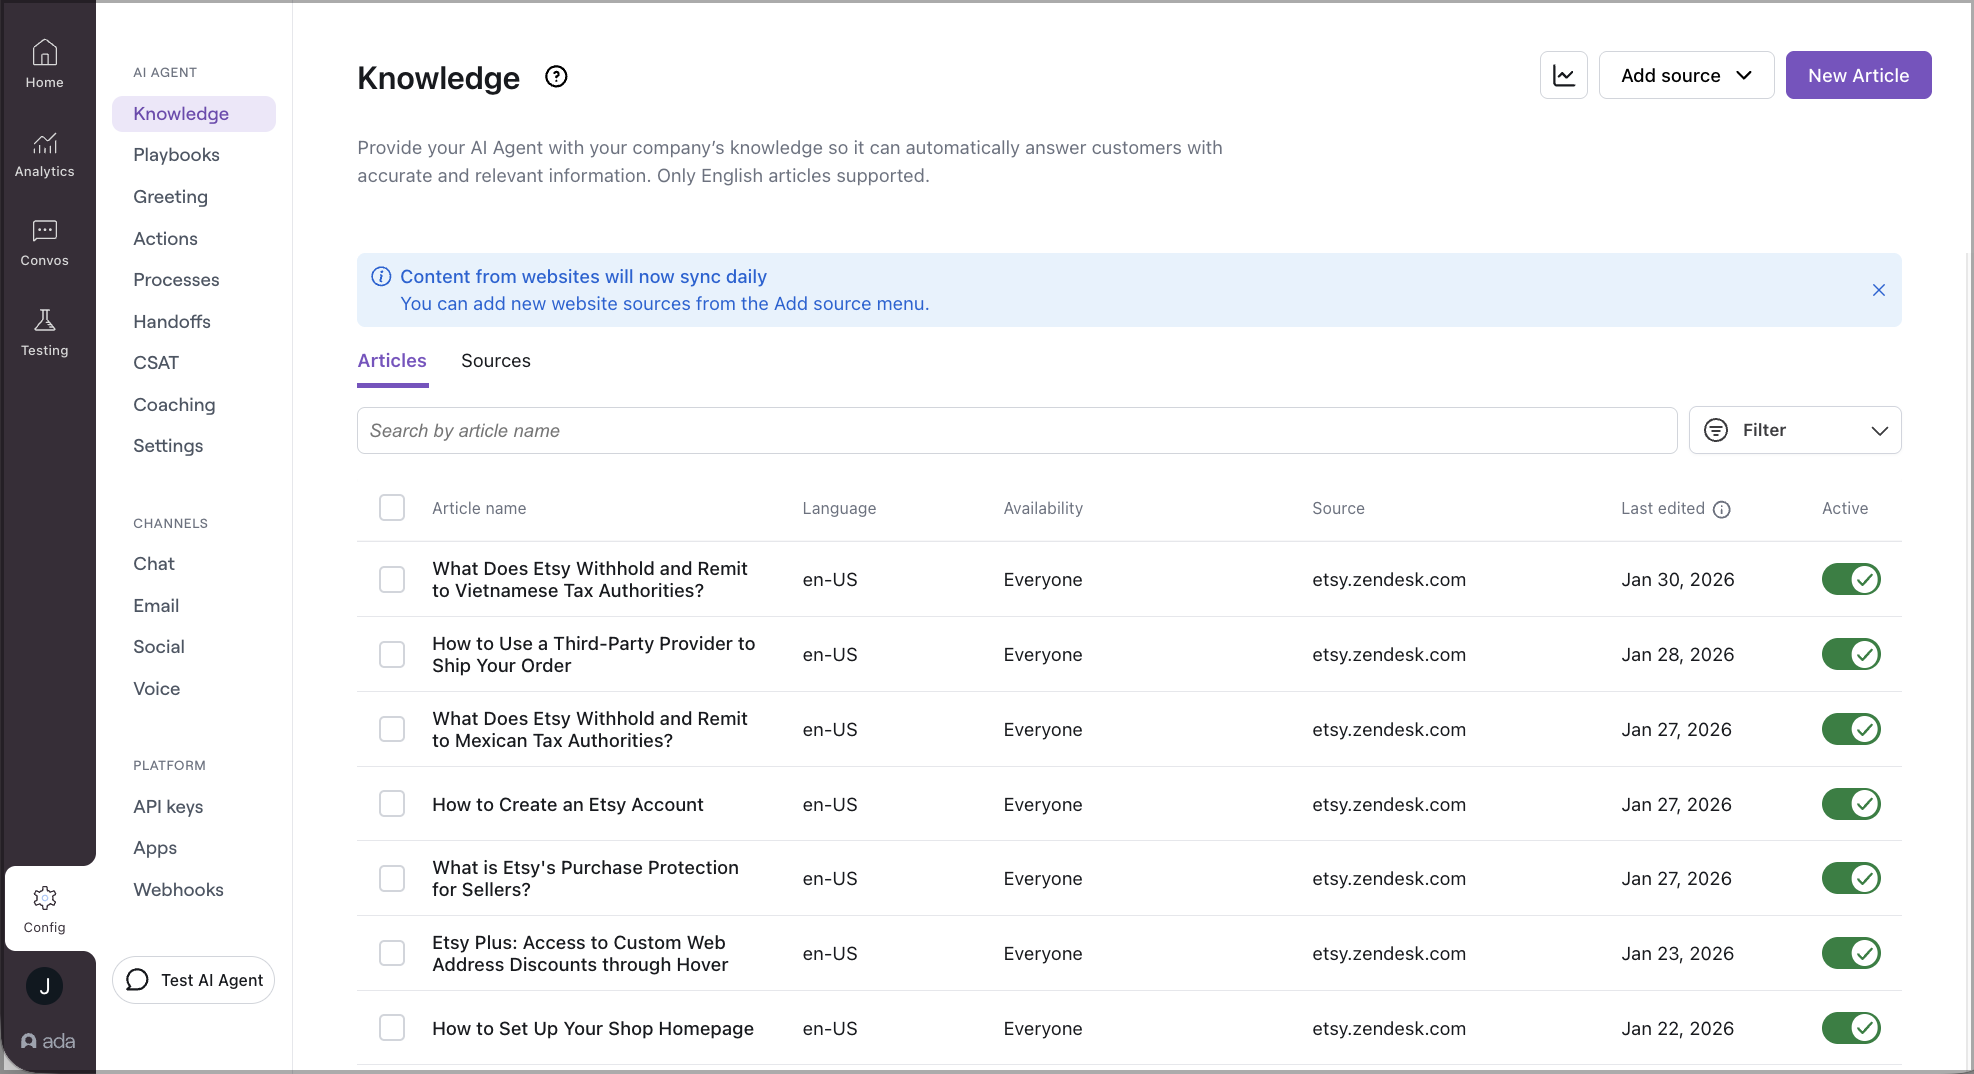
Your AI Agent relies on Knowledge sources to generate responses. In your Ada Dashboard, go to Config > AI AGENT > Knowledge to provide it with relevant and accurate information.
On the Knowledge page, you’ll see a list of topics under the Articles tab, based on the skillset selected in Step 2. From here, you can do any of the following:
- Connect a knowledge base: Click Add Source and select an existing knowledge base integration, such as Zendesk or Salesforce.
- Import website content: Click Add Source, and select Website. Then, name the source, specify the URLs you want to use, and click Save.
- Create new articles: Click New Article, enter content in the editor, and click Save.

Step 5: Test your AI Agent’s Knowledge
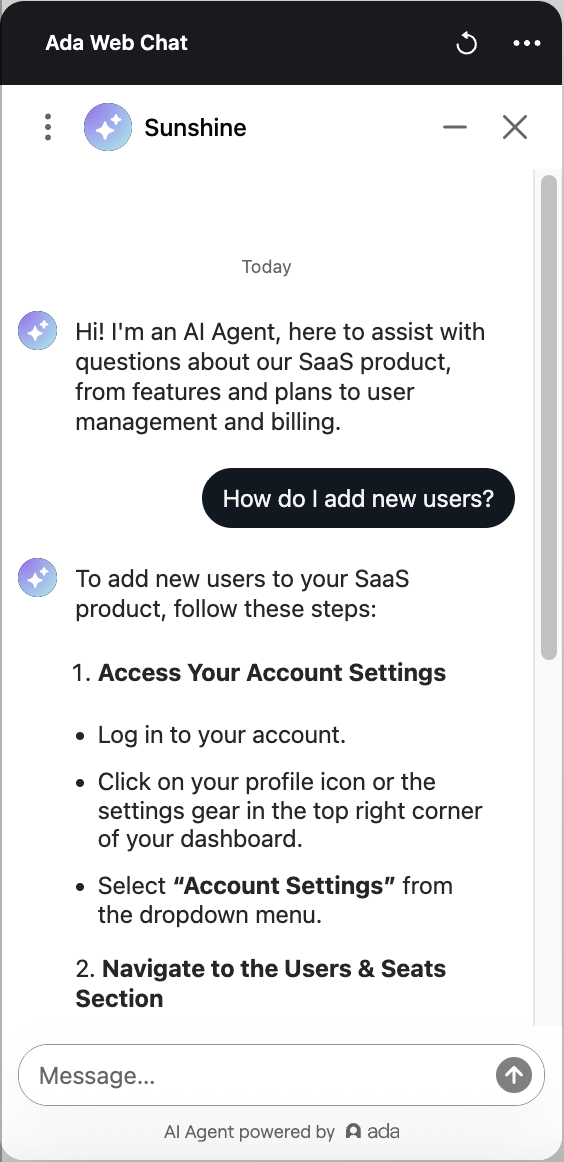
Now that your AI Agent has been set up with Knowledge sources, it’s time to test how well it responds to customer inquiries.
In the chat window, ask your AI Agent questions based on the knowledge sources you added. For example, if you selected Technology & software, ask something like: How do I upgrade after the free trial?
Review the AI Agent’s responses. If needed, go back to the Knowledge section to add or refine information.
