

Configure and use Ada Glass for Zendesk Messaging
Overview
Zendesk Messaging Glass is Ada’s integration with the Zendesk Messaging asynchronous chat product. Zendesk Messaging Glass gives you access to Ada’s full feature set within your Zendesk environment, letting your brand leverage the Ada Chat experience.
About asynchronous chat
Asynchronous chat means that conversations between chatters and your live support agents can extend indefinitely, until either the chatter or agent ends the chat manually. It is not limited by automatic timeouts or disconnects, as is the case with session-based chat platforms like Zendesk Chat, and it supports .jpg, .jpeg, .pdf, and .png attachments, up to a limit of 50MB.
Requirements
Ada Glass for Zendesk Messaging requires that your Zendesk and Ada accounts have the following products enabled and configured:
Zendesk
Ada
-
Ada Glass for Zendesk Messaging
Configure Zendesk Messaging Glass
You should have your Sunshine Conversations app open while configuring Zendesk Messaging Glass. You’ll need it to retrieve the required authentication information needed to complete the set up.
Here’s how to configure Zendesk Messaging Glass:
-
On the Ada dashboard, go to Settings > Integrations > Handoff Integrations.
-
On the Zendesk Messaging card, click Configure, then in the Connect Ada to Zendesk Messaging dialog box, click Next.
-
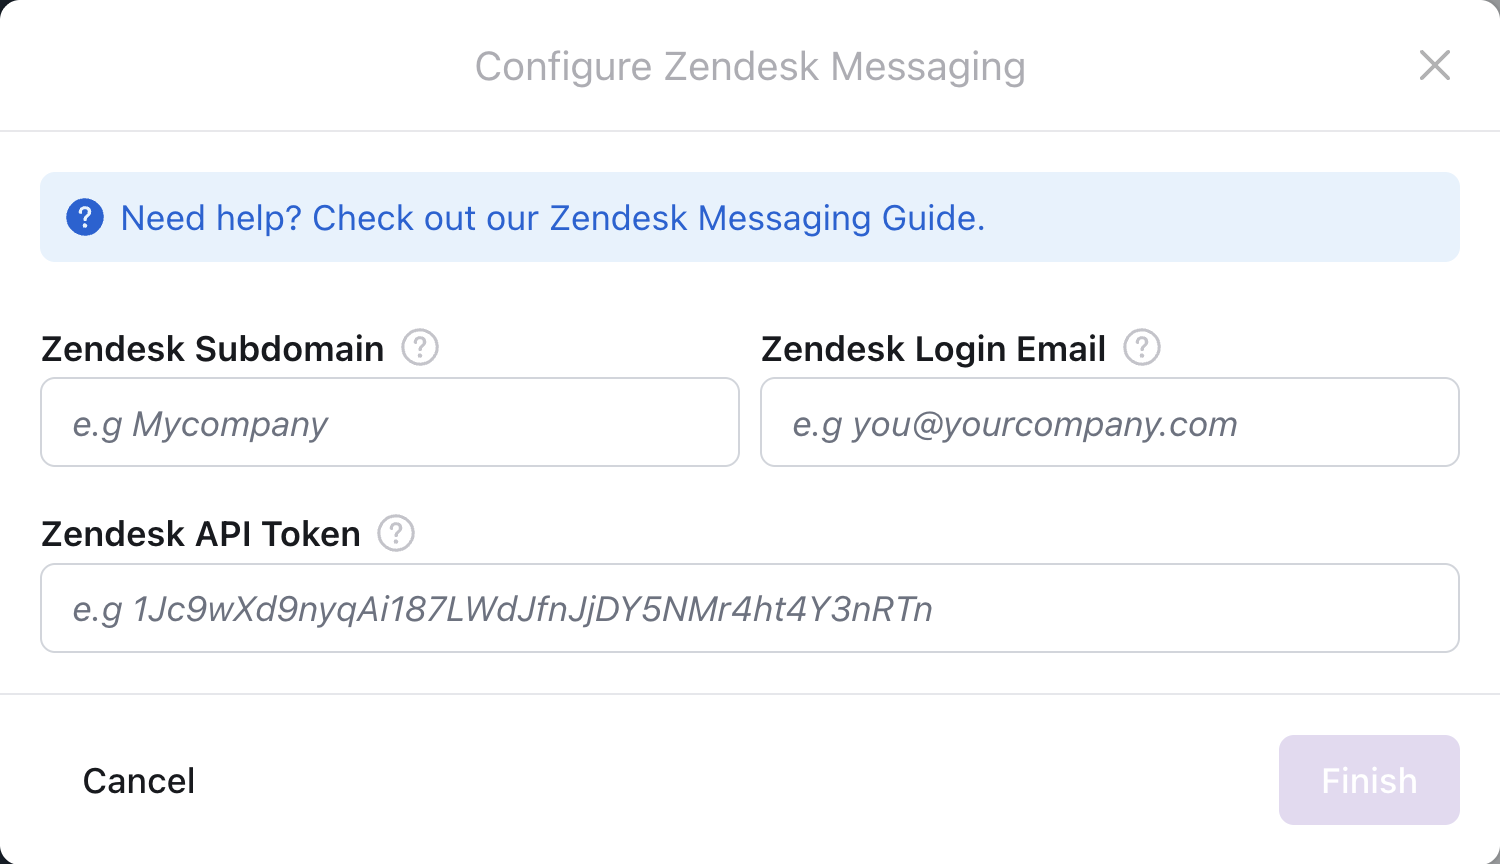
On the Configure Zendesk Messaging dialog box, complete the following fields using your Zendesk credentials, found under Settings in your Sunshine Conversations app.
-
Zendesk Subdomain
-
Zendesk Login Email
-
Zendesk API Token
Refer to the Zendesk user guide Generating a new API token for guidance on creating an API token for your Zendesk Messaging integration.
-
-
Click Finish, then close the success dialog box.
Create an end conversation trigger
Zendesk may change their functionality without notice. For more details and the most up to date information about creating triggers, refer to Zendesk’s guide Creating triggers for automatic ticket updates and notifications.
Create a trigger in Zendesk to automatically end the agent conversation once the ticket status is set to solved. This trigger releases the chatter from the Zendesk agent conversation and allows them to resume chatting with your Ada chatbot.
-
In the Zendesk Admin Center, go to Objects and rules > Triggers, then click Add trigger.
-
On the Add new trigger page, add a trigger name, description, and category.
-
Under Meet ALL of the following conditions, click Add Condition, then use the drop-down menus to set the condition to Status Is Solved.
-
Under Actions, click Add action, then use the drop-down menus to set the action to Status Closed.
-
Click Create.
With the trigger in place, your chatters are now automatically released back to your Ada chatbot when the agent selects Submit as Solved at the end of a live support conversation.
Chatters on web or mobile can release themselves from an agent conversation by clicking the X at the top of the chat window.
Connect your bot with Zendesk Admin Center
In Zendesk, add your bot so it can be the first means of interacting with your chatters. For more information, see Managing third-party bots in Admin Center at Zendesk’s documentation.
Here’s a summary of what the actions do:
-
Connect - Makes a switchboard setup where Ada is the first responder, Zendesk Agent Workspace is the second, and Zendesk’s Answer Bot is not connected to any other switchboard integrations.
-
Disconnect - Sets Answer Bot back as the first responder, but keeps Ada in the switchboard in case you want to reconnect it in the future. This can be handy while you’re testing your bot.
-
Uninstall - Removes Ada from your switchboard, and uninstalls it from your Sunshine Conversations app. We don’t recommend doing this; if you do, you’ll have to reinstall Ada in your Zendesk account again.
If you can’t see the above actions, you can perform the same actions in the Sunshine Conversations API. For instructions on how to do that, see Configuring the switchboard with Zendesk and a bot partner at Sunshine Conversations’ documentation. If you continue to have difficulty, feel free to contact your Ada team for assistance.
Sunshine Conversations Web Messenger won’t appear in your list of channels in Zendesk Admin Center. However, it’s accessible in the Sunshine Conversations API if you need to see or update it.
Use the Zendesk Messaging block
This quick guide will help you get your Zendesk Messaging Answer up and running.
Here are the steps:
-
On the Ada Dashboard, go to Build > Answer, then create a new handoff Answer, or select an existing one.
-
[Optional] In the Answer editor, add Capture blocks configured to capture the chatter’s name, email address, and phone number.
In order for the chatter’s information to map to the correct fields on the Zendesk ticket, the variables you use to capture their name and email address must be named exactly as they appear below:
-
name
-
email
-
-
Drag and drop the Zendesk Messaging block into the Answer editor, then configure the block using the following table as a guide:
-
Click Save.
Your Zendesk handoff Answer is ready to go. Add training to this Answer so that your bot recognizes a request for agent support. Connect this Answer, or other specialized handoff Answers, to Answer flows that may require an agent’s intervention.
Agent Experience
When a handoff occurs through your Ada chatbot, the primary agent experience remains largely unchanged.
-
Agents still handle all Live Agent conversations from their Zendesk Agent Workspace dashboard.
-
Agents can also respond to chatters asynchronously, and over an extended timeframe.
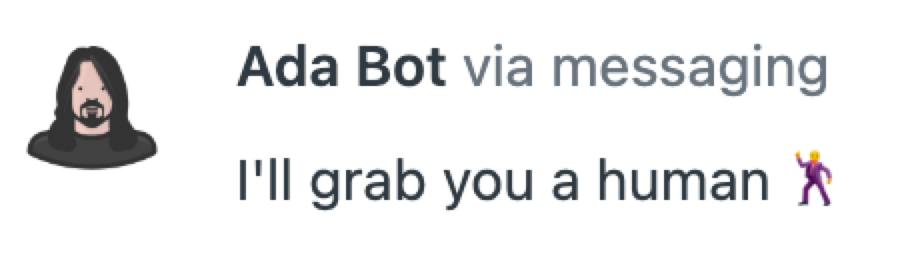
In all tickets except those created between June and August 2023, transcripts show bot messages with the channel set to “messaging”:
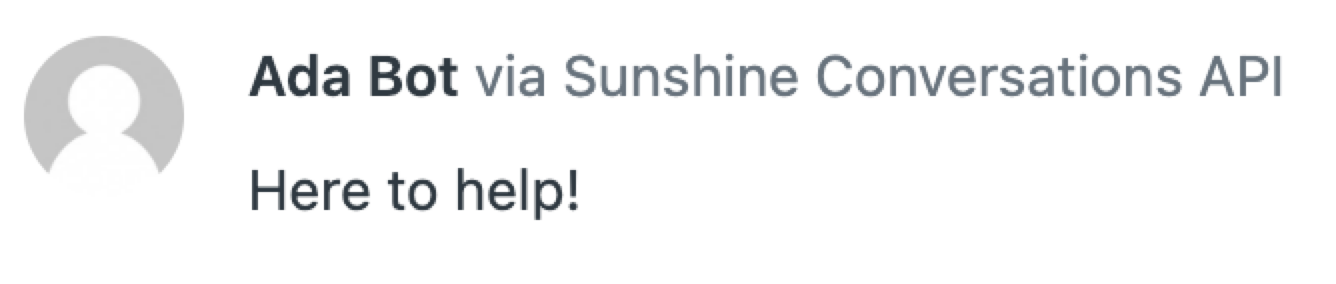
Between June and August 2023, tickets originating from your bot had the channel set to “Sunshine Conversations API”:
These settings update once a chatter starts a new chat session. For bots that have long persistence settings, you or your agents may wish to tell chatters to clear their caches to display the updated channel source in the ticket.
Chatter Experience
The chatter’s experience is seamless. Once they are handed over to the live support agent, the only thing that changes about their experience is who they are chatting with. Bot and agent conversations remain in the same chat window.
Chatters can also minimize or close the chat window, regardless if its Ada’s or another brand’s chat environment, and expect their conversation history to persist; however, if they click the End Chat button, the conversation history does clear.