Collect and analyze chatter satisfaction data with Satisfaction Surveys
Overview
The Satisfaction Survey is designed to help you get better insight into what your customers are thinking and feeling about their automated support experience. By using this feature, you’ll be able to request feedback from your users directly within the bot at an appropriate time in the conversation.
-
You can attach the Satisfaction block to multiple Answers. We recommend that you add the block at the end of your decision trees or to stand-alone Answers.
-
Chatters are only served one satisfaction survey per conversation. If you want to collect more chatter feedback, you can also collect individual Answer reviews.
Configure your survey
There are four ways you can set up customer satisfaction reviews, each with different scales for recording feedback:
-
On the Ada dashboard, go to Settings > Bot Setup > Satisfaction Survey.
-
Beside Satisfaction Rating, choose how you want chatters to provide ratings. This rating is part of every Satisfaction Survey, regardless of whether you enable additional options.
-
Beside Follow-up Question, turn on the toggle to allow chatters to give additional reasons depending on the rating they provided. The options they can select vary based on whether they provided a positive or negative rating.
Possible positive reasons:
-
Efficient chat
-
Helpful resolution
-
Knowledgeable support
-
Friendly tone
-
Easy to use
-
Other
Possible negative reasons:
-
Took too long
-
Unhelpful resolution
-
Lack of expertise
-
Unfriendly tone
-
Technical issues
-
Other
Prior to July 8, 2025, the Follow-Up Question also included “Bot was intelligent” as a positive reason and “Bot didn’t understand” as a negative reason. These options were removed to simplify the survey and reduce confusion.
-
-
Beside Resolution Question, turn on the toggle to allow chatters to answer the question, “Did we resolve your issue?” with either “Yes” or “No.”
-
Beside Additional Comments, turn on the toggle to allow chatters to type in additional feedback. Chatter feedback must be 320 characters or less.
-
Click Save Changes. Your bot saves your survey settings.

Configure when your survey appears
There are three ways you can survey chatters that you can use in any combination:
-
At the end of each chat
-
In the Anytime survey, which appears after the chatter has sent four messages to the bot
-
Using the Satisfaction block in an Answer
If you don’t have any of the three above settings configured, chatters won’t see your survey.
Survey chatters at the end of each chat
To prompt chatters with the survey at the end of every chat, under your survey configuration settings, turn on the Automatically survey at the end of chat toggle.
When this setting is turned on, the survey appears when chatters close the chat, as long as they’ve sent the bot at least one message, or if a live agent leaves the conversation.
Let chatters access the survey during the chat
To allow chatters to access the survey before the chat has ended, under your survey configuration settings, turn on the Anytime Survey toggle.
When this setting is turned on, after the chatter has sent four messages to the bot (including quick reply selections), a button appears beside the chatter’s text field.
This survey only consists of the Satisfaction Rating question you configured in your Satisfaction Survey; it doesn’t contain any follow-up questions, even if you have them configured in the full survey.
Add your survey to an Answer using the Satisfaction block
-
On the Ada dashboard, go to Build > Answers, and create or open an Answer you want to put a survey into.
-
Drag and drop a Satisfaction block into your Answer. This is where your users will be prompted for the survey.
-
Click Save.

Turn automatic responses to chatter ratings on or off
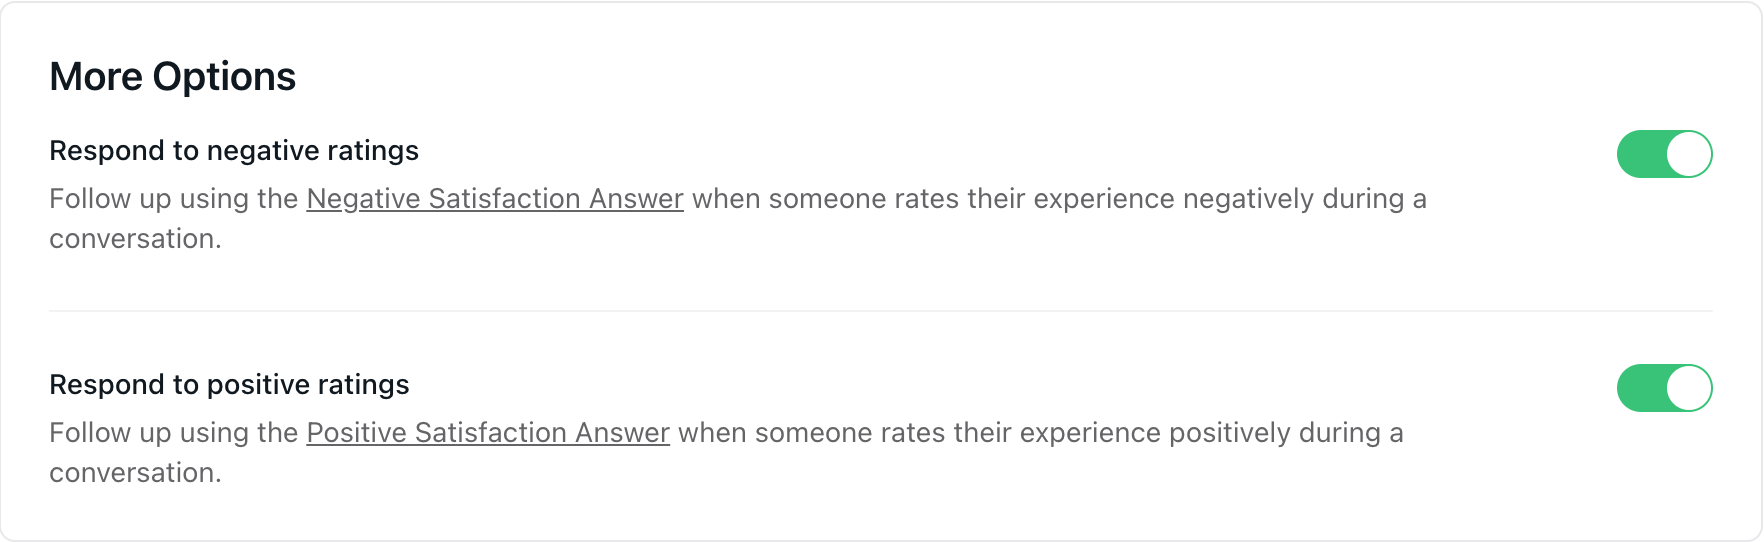
After chatters provide ratings, your bot can respond with the Positive Satisfaction or Negative Satisfaction locked Answers. You can turn these responses on or off. Under your survey configuration settings, under More Options, use the toggles beside Respond to negative ratings and Respond to positive ratings to turn those responses on or off. You can also follow the links to each locked Answer to edit their content.
Reporting
To see a report of your Satisfaction Survey results, on your Ada dashboard, go to Measure > Reports > Satisfaction Survey Results. For more information on the data in that report, see Satisfaction Survey Results.