Configure and use Ada Glass for Oracle
Overview
The Oracle Glass integration helps you create seamless handoffs from your chatbot to Oracle live agents, all from within Ada. To configure the Oracle Glass integration, you must have an Oracle instance with the RightNow Chat Cloud Service.
The number of handoff platforms your organization can use varies depending on your subscription package. For more information, see Ada’s Pricing page, or contact your Ada team.
Requirements
-
Your Oracle URL
-
Administrator account credentials
Configure Oracle Glass in Ada
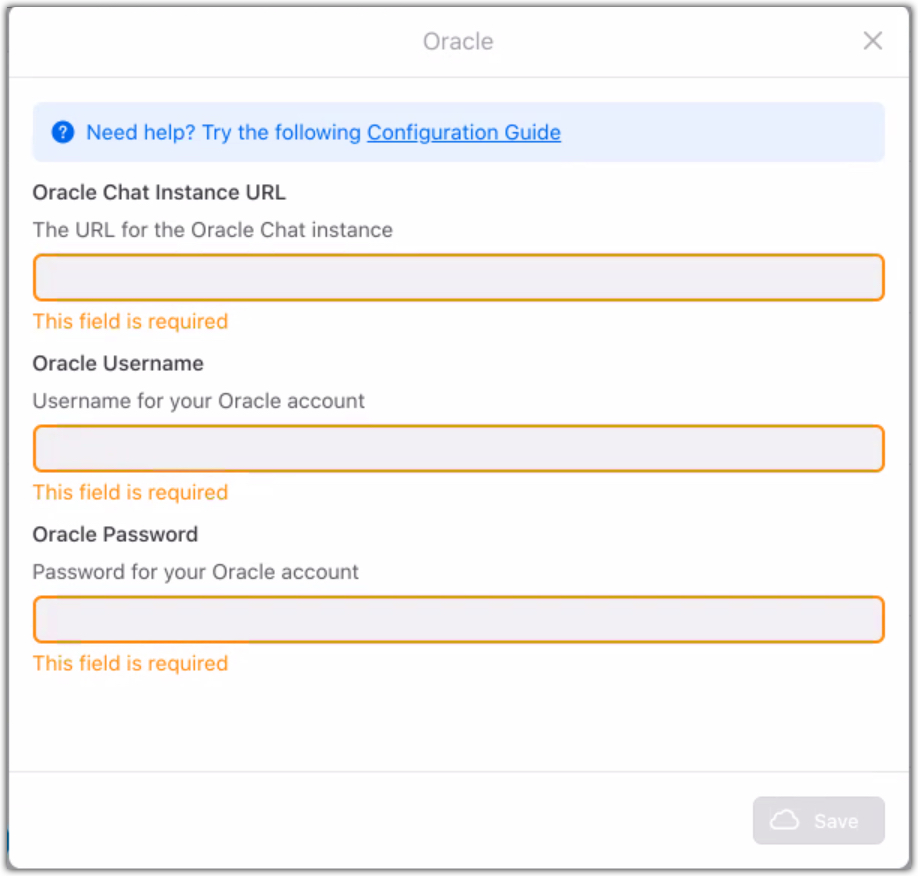
Turn on the Oracle glass integration in Settings > Integrations.
Input:
-
OracleUrl: the fully qualified URL of your Oracle instance
-
Username: an Administrator username associated with your Oracle instance
-
Password: the corresponding password for the Administrator account

Use the Oracle Live Handoff Block
The Oracle block is made up of a series of fields for the various parameters you can define when creating the Oracle live support ticket. As such, your Oracle live support handoff Answer should be built to gather whatever information you need from the chatter for a successful handoff.

All Oracle handoffs do require three details at minimum: The chatter’s first name, last name, and email address. Using Oracle’s REST API, the bot can then find the chatter in your Oracle database and create an incident for them. If the chatter does not exist, the bot creates a new profile for them. Once everything is in place, the Oracle block uses this information to create a live support ticket and establish a connection with one of your agents.
The Oracle live agent handoff Answer is made up of five primary actions:
-
Gather information from the chatter
-
Search for chatter’s Contact ID
-
Create chatter Contact ID (if no contact ID exists)
-
Create Incident ID
-
Connect to live agent
For the Contact and Incident ID actions, a REST HTTP request must be made to your Oracle B2C Service server. Consult the Oracle documentation for more information about configuring HTTP requests to the Oracle REST server.
Here is the basic Answer structure of the Oracle handoff Answer, followed by the detailed steps for building it:
-
Capture block: firstname (required)
-
Capture block: lastname (required)
-
Capture block: email (required)
-
Capture block: chatter_question (recommended)
-
HTTP Request block: GET request to your Oracle server for report on the chatter’s email address.
-
Conditional block: Triggers Contact ID creation on Oracle server if GET request returns nothing.
- HTTP Request block: POST request to Oracle server to create a new Contact ID for chatter.
-
HTTP Request block: POST request to Oracle server to create an Incident ID.
-
Oracle block: Connects the chatter with a live agent.
Build your Oracle live agent handoff Answer
-
On the Ada dashboard, go to Build > Answers.
-
Select the existing Handoff to Support Answer, or create a new Answer to use for the Oracle handoff.
-
In the Answer workspace, add Capture blocks to capture the chatter’s first name, last name, email, and chatter question.
Capturing the chatter’s name and email address before attempting to connect the chatter with your Oracle support team is required. The variable name is important, so be sure to title the variables exactly as listed below:
-
firstname
-
lastname
-
email
-
-
Next, add an HTTP Request block in the Answers workspace.
-
Configure the HTTP Request block for a GET request to check for the existence of the chatter’s contact ID on your Oracle B2C Service server. Add the following pathway to your server’s REST API URL in the URL field of the HTTP Request block:
Consult the Contacts REST Endpoints section of the Oracle documentation.
-
Add a Conditional block to your Answer to trigger the creation of a new chatter contact ID if one does not exist in your Oracle database.
-
In the Conditional block, click the Choose a Variable drop-down menu and select the contactid variable, then set the Comparison drop-down menu to Is Null.
-
Add an HTTP Request block to action if the condition is true.
-
Configure the HTTP Request block for a GET request to check for the existence of the chatter’s contact ID on your Oracle B2C Service server. Add the following pathway to your server’s REST API URL in the URL field of the HTTP Request block:
Consult the Contacts REST Endpoints section of the Oracle documentation.
-
Add an HTTP Request block to the main body of your Answer, then configure it to create an Incident ID. Add the following pathway to your server’s REST API URL in the URL field of the HTTP Request block:
Consult the Incidents REST Endpoints section of the Oracle documentation.
-
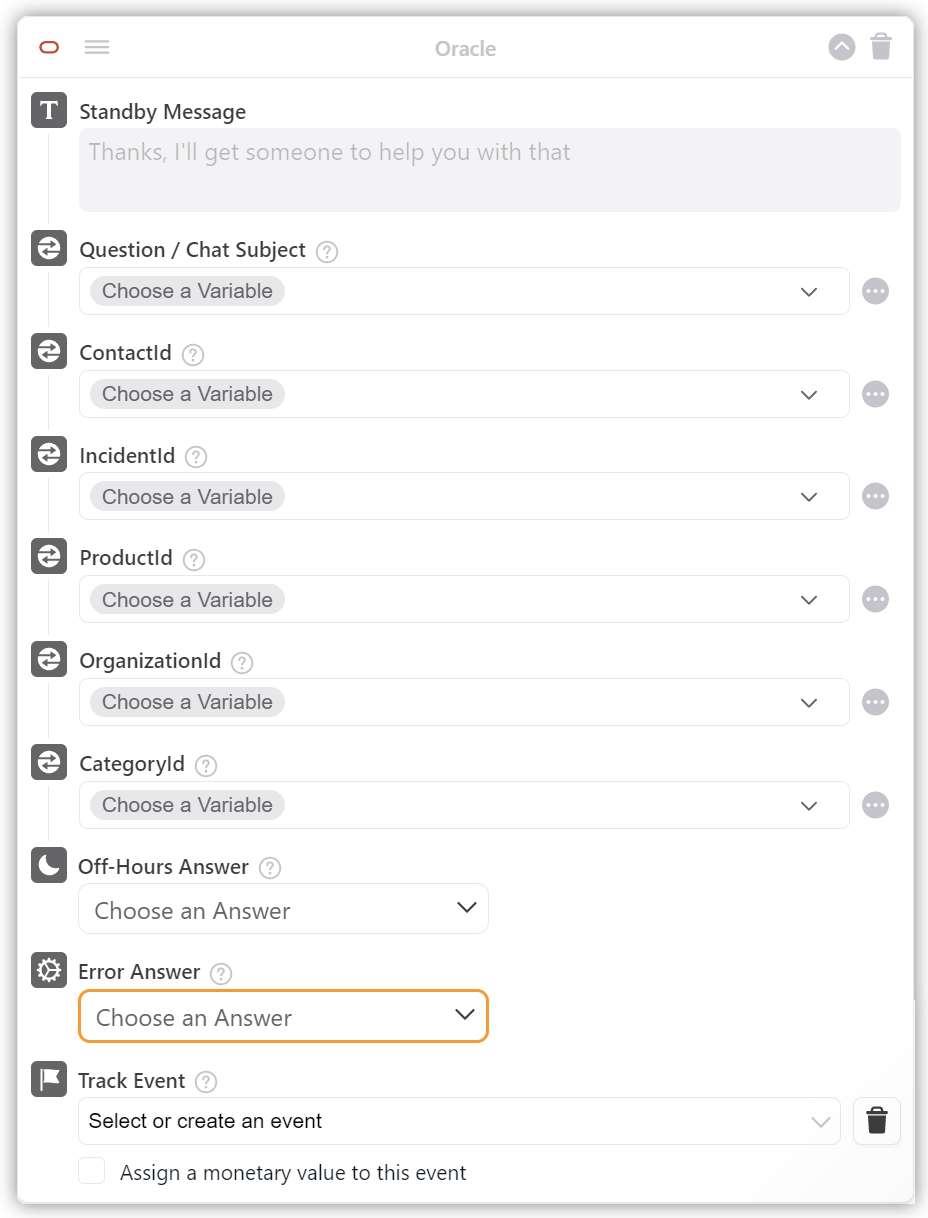
Now add the Oracle block to your Answer, and configure it as required for your handoff:
You’re done! Your Oracle handoff Answer is configured and ready to use. Feel free to add custom messaging to create a more conversational experience.
Chatter Experience
When the chatter encounters the Oracle Live Agent block during a handoff Answer flow, they’ll be added to the appropriate queue.
When the chat is assigned to an available agent, the agent’s name and Oracle avatar image (or default avatar if a personal one has not been set) will be provided to the chatter to identify who they are chatting with.
When the agent is typing, a three dot typing indicator appears in the
Ada window. ![]()
The chatter will continue the conversation with the live agent in the same chat window that they were corresponding with the bot in, resulting in a seamless experience for the chatter.
If the chatter is asked to share any sensitive information, such as a Social Security or credit card number, the agent can trigger Oracle’s Off the Record functionality. This reveals a secret message dialog box the chatter can use to securely share any sensitive data with the agent without that information being recorded by Ada. See Oracle Off the Record for more information.
Oracle Live Agent Experience
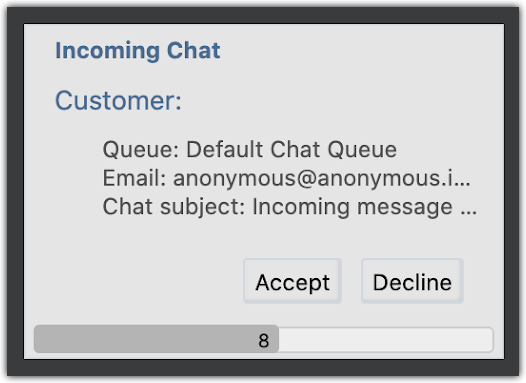
To receive live chats, Oracle agents must “request a chat.” In the top right hand corner of the Oracle dashboard, agents will see a toolbar — click the button highlighted in red in the screenshot to “request a chat.”


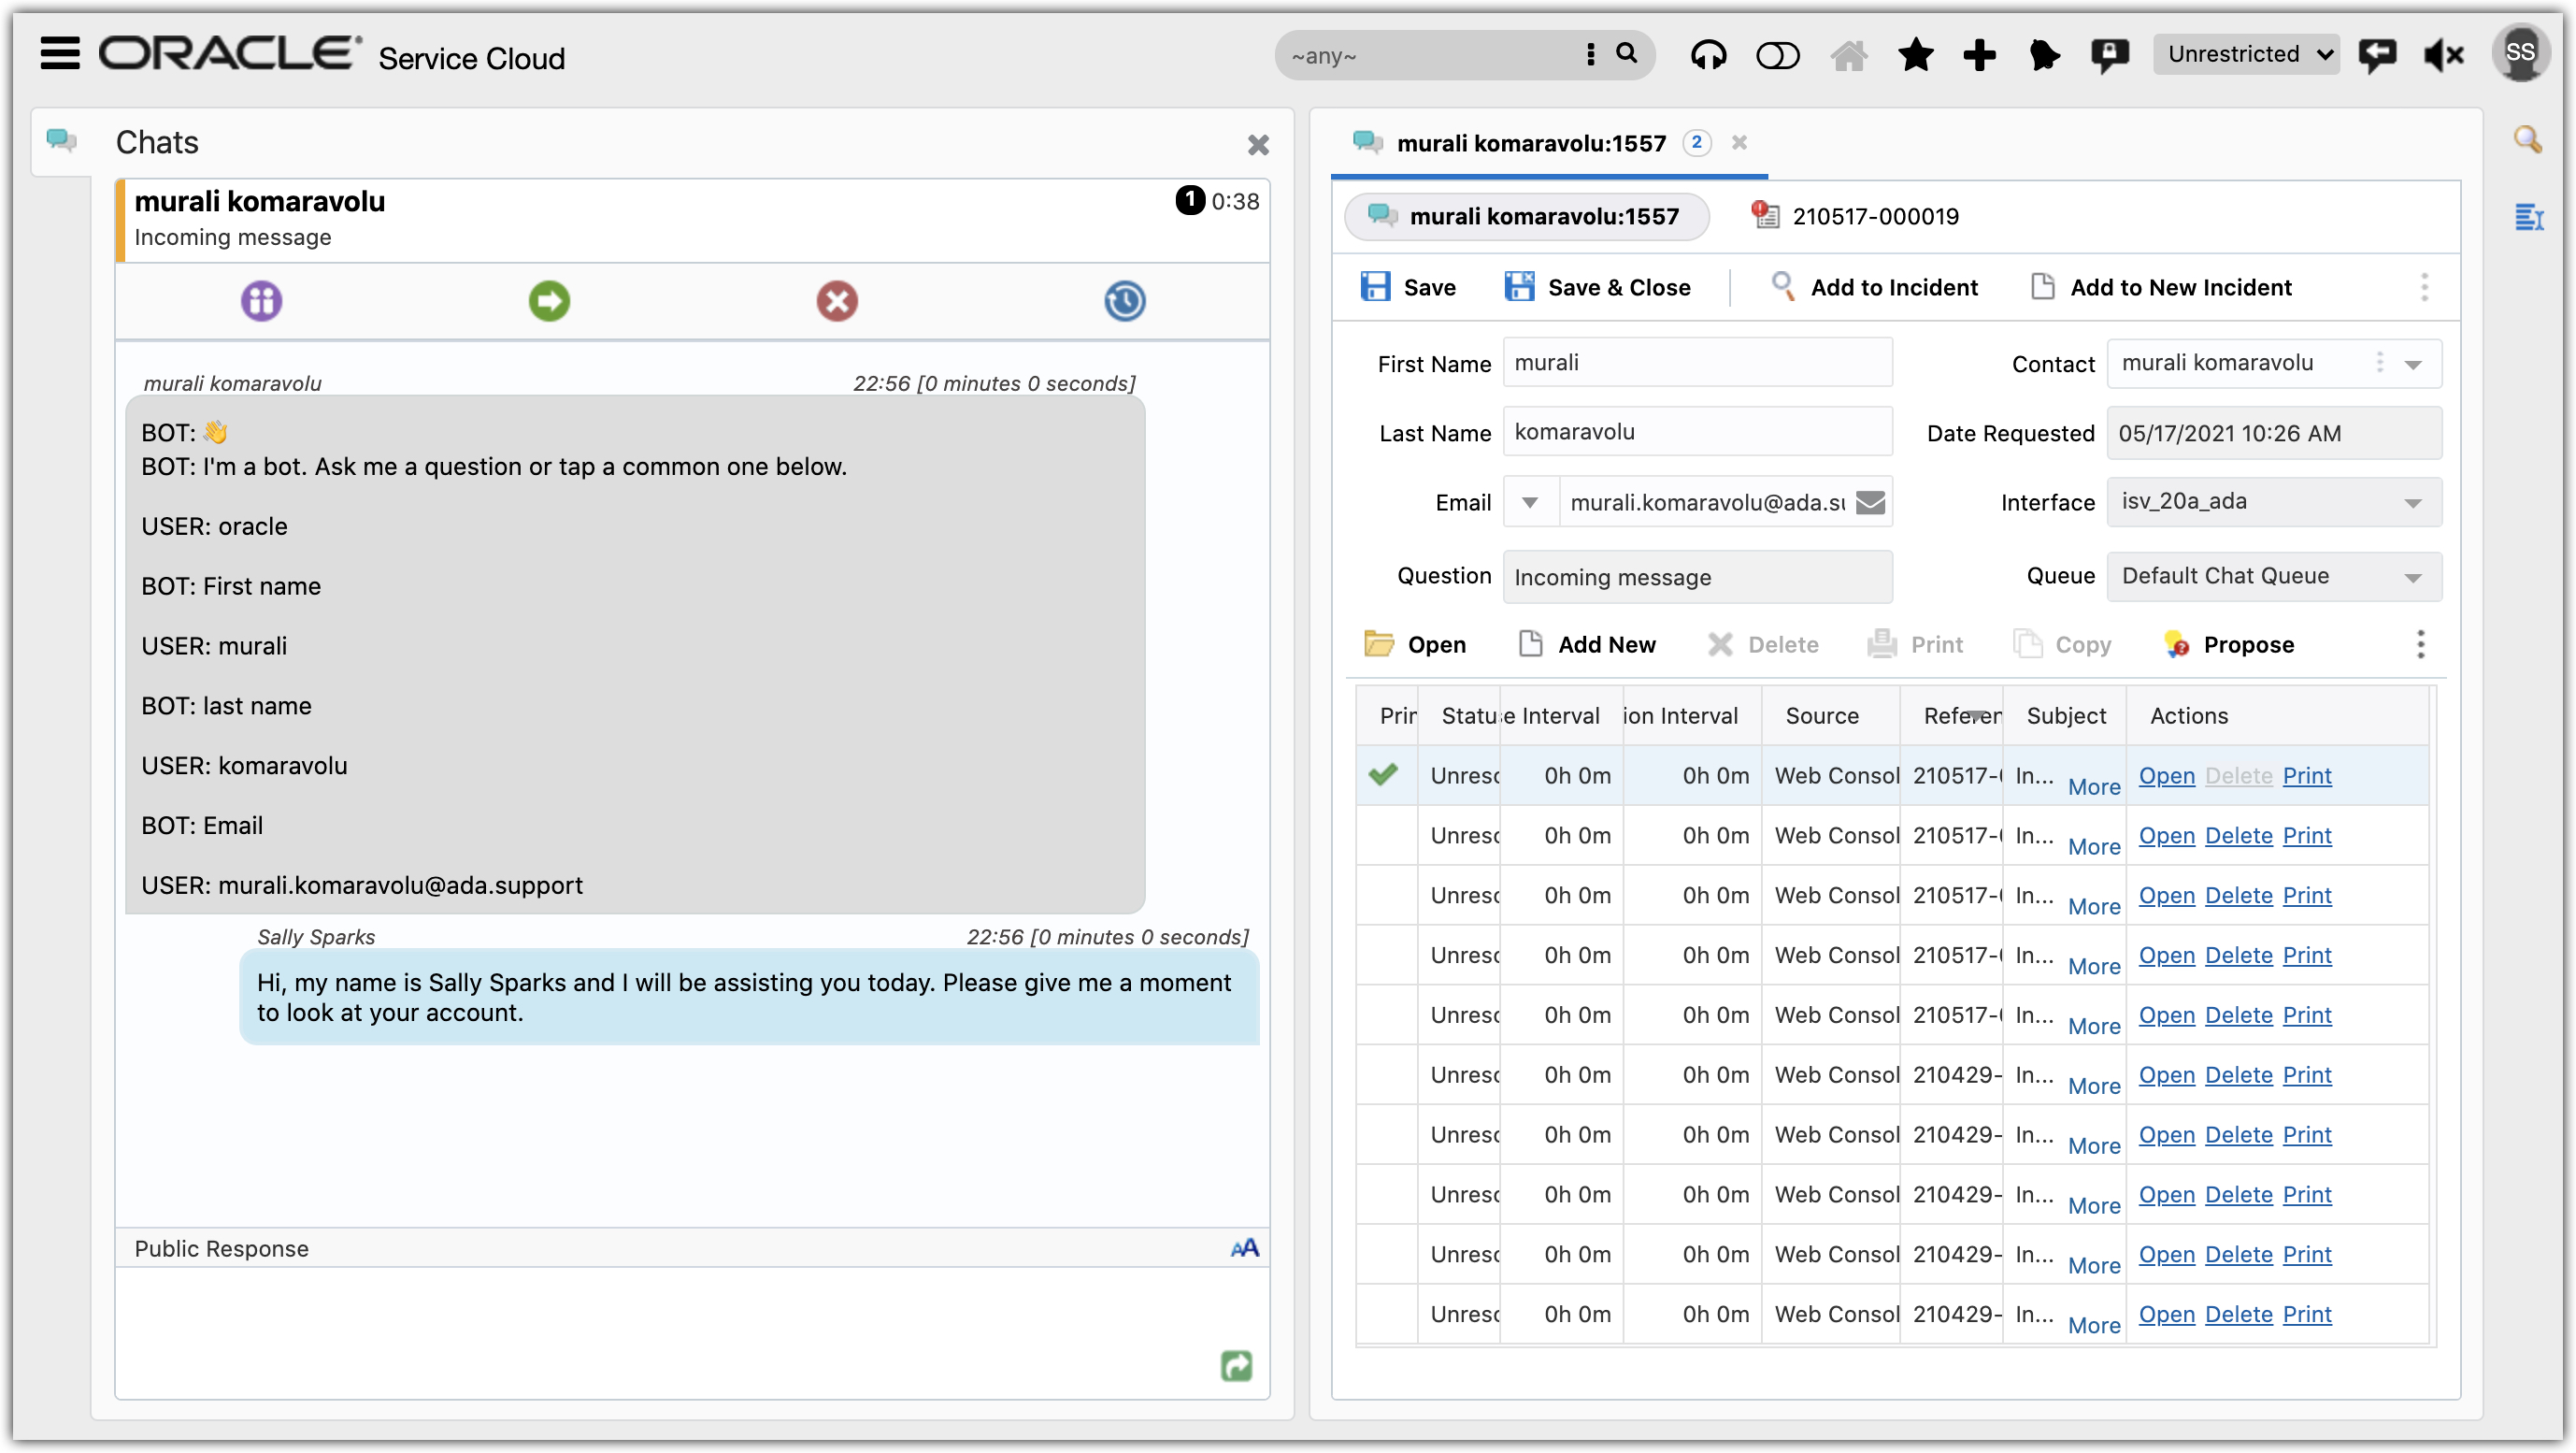
The chat window becomes present for the agent with the full transcript, at this point the agent can reply back to the conversation. The contact record is also created if not already present in Oracle. If the contact record is present, it is presented to the agent.

Oracle Off the Record
Ada supports Oracle’s Off the Record feature. If a chatter needs to share sensitive information with the Oracle agent, such as a credit card or Social Security number, the agent can trigger an Off the Record secret message box in the Ada chat window. Information sent using this secret message box is available only to the agent and not recorded in Ada’s database.
How to use Off the Record
The Oracle agent triggers the Off the Record interaction in Ada. Here’s how the interaction works:
-
On the Oracle Chats dashboard, in the Public Response field, enter
/secret. This adds the secret message icon to the left of the chatter’s message field in the Ada chat window. -
The chatter clicks the secret message icon to open the secret message input box.
-
In the secret message box, the chatter enters the sensitive information they wish to share.
-
The chatter clicks Send to share the information with the agent.
-
The secret message box disappears from the chatter’s view, and a confirmation message appears, indicating the secret message was sent.
-
The agent receives the sensitive information in their chat window. The secret message is prefixed with the label SECRET.
-
Once the chat ends, the sensitive information is redacted from the Oracle transcript.
For more information about Off the Record, check out the following Oracle knowledge base articles: