Customize the chat button
Customizing your bot’s chat button will help you ensure that your bot is easy to access and fits within your branding guidelines.
Keep in mind that the chat button should be a visually familiar icon that’s easy to find. You can do things like change the shape of the button, add text or a custom image, and change its background color.
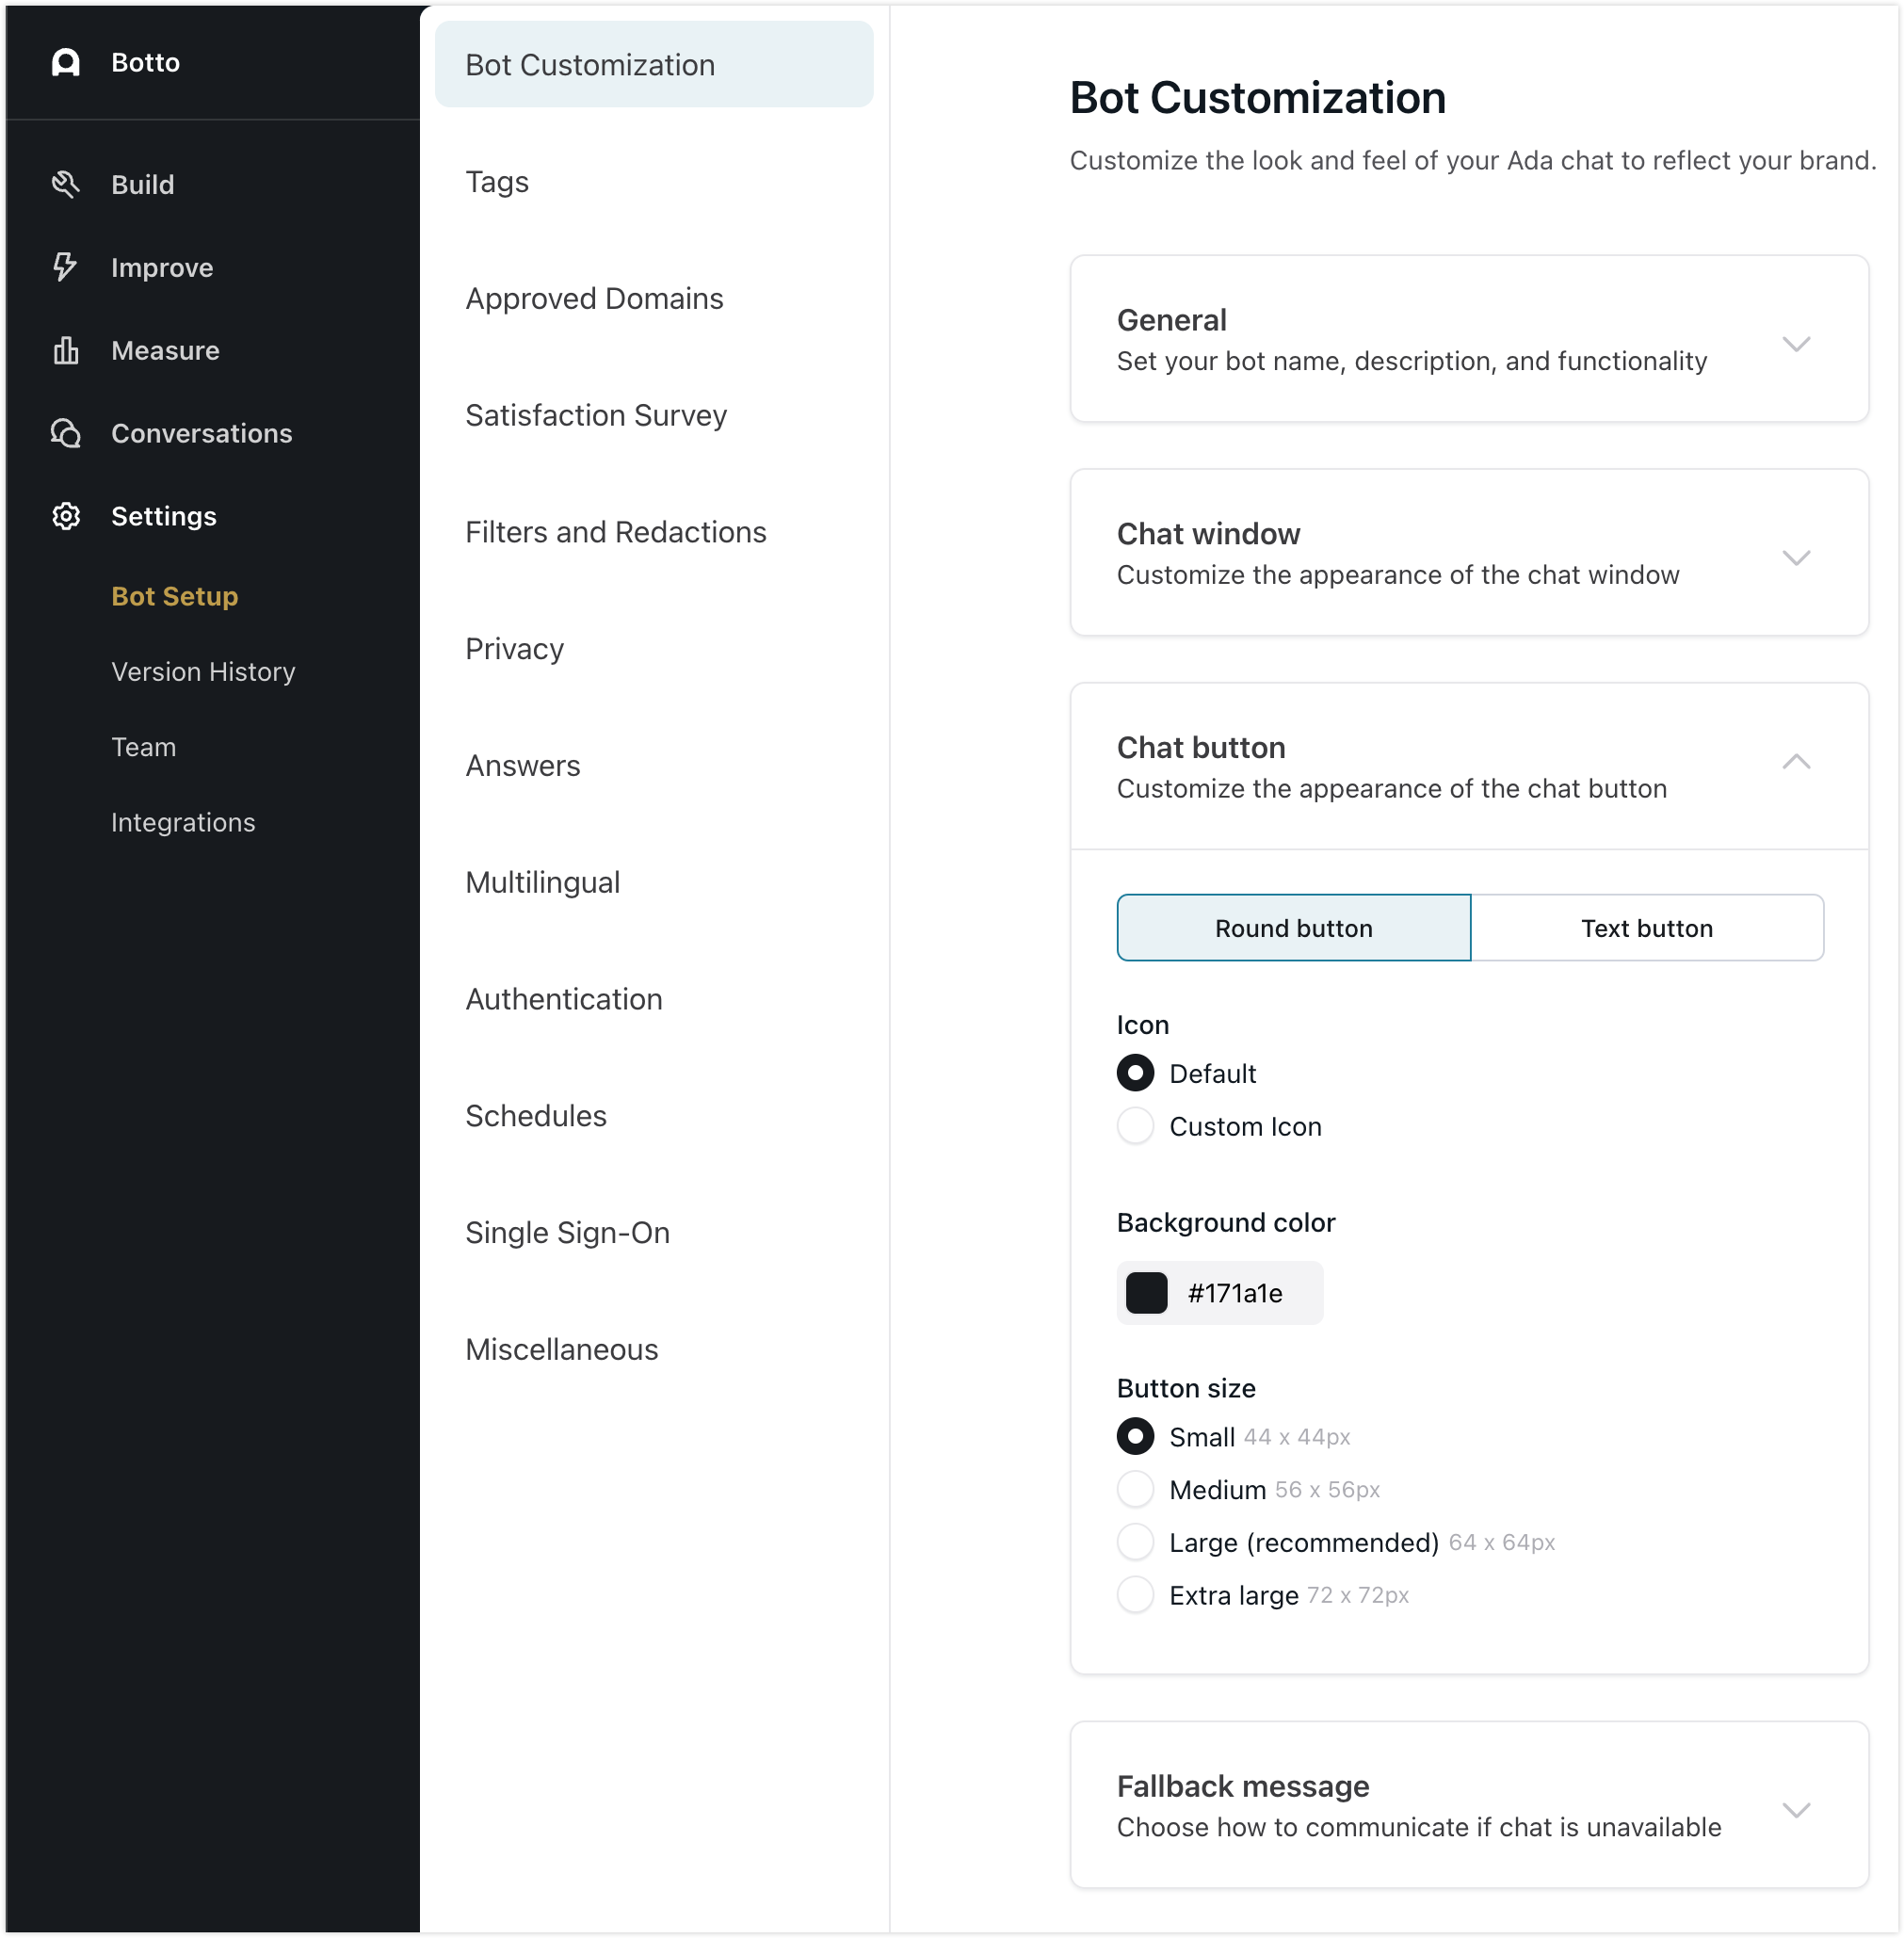
- On the Ada dashboard, go to Settings > Bot Setup > Bot Customization, then open the Chat button drawer.
-
In the Chat button drawer, select your preferred button style, and then further adjust its appearance. As you make changes to your settings, the preview updates on the right side of the screen.
-
Round button

- Under Icon, choose the type of icon you want to appear on your chat button.
-
Click Default to just have a speech bubble on your chat button.
-
Click Custom Icon to upload an .svg file to appear on your chat button.
Upload a custom image
- By default, your bot comes with a preloaded custom icon.
To replace it, click the Delete button
 beside the existing file path.
 - Click the Upload button
 , then upload the .svg file of your choice.
- By default, your bot comes with a preloaded custom icon.
To replace it, click the Delete button
- Under Background color, either click the color swatch to use a color picker, or paste in a hex code to choose the color for your button.
- Under Button size, choose how big you want your button to be.
-
Text button

- Under Background color, either click the color swatch to use a color picker, or paste in a hex code to choose the color for your button.
- You can add custom text for each language that your bot supports. Beside the Button text field, choose the language you want to add the custom text for, and then in the field, enter the text you want to appear on the button. The button text can be up to 18 characters long.
-
-
Click Save Changes.
If your bot is live, the changes you make to your chat button appear immediately to your chatters once you save them.